Tuesday, September 30, 2014

Joyous

Welcome.  If I said that I am making Christmas cards, you wouldn't be surprised.  Would you?  Well, yeah, I have started.  For a little background information, if you didn't know, I sell my paper crafts at local Holiday Arts and Crafts Fairs in November and December.  So, to be honest, I am a bit behind in my crafting.  I set a goal for each week, what to have accomplished, and what to work on.  And well, I am a bit behind.  Have you ever had a day (or weekend) where you had chores to do, but just didn't have the motivation?  Well, that is how it has been for me.  So, my stock is low, my motivation is low, and my mojo is low {frown}  But, I hope to turn that around.  
I stopped by a challenge site that I stalk frequent, but never participate.  Not really sure why I don't participate.  It's basically up my alley.  So, I have run out of excuses.  Until today!  Today, I have made a decision to participate and see what I can create with the many boxes of Christmas paper crafting supplies I have on hand.  But, today I want to 'play' with some new supplies I received in the mail last week: Joyous by My Mind's Eye.  I love vintage, and nostalgia.  So, this paper collection is perfect for me!
Now, let's swing by Merry Monday Christmas Challenge to see what these talented crafters have created, and what our inspiration is for the week.


Ok, so Merry Monday asks that you use polka dots, or stripes, or both.   Are you kidding?  I can do that!  Now, look at this beautiful inspiration photo: stockings, red stripes, and holly trimming the fireplace.  How home-y is that?
ok, here is what I made:


Before you say anything.  I think the pop of blue really brings out the reds in this card.  I got the idea of using some blue from the main panel on this card.  The blue bird and the blue string that is tied to the sentiment tag.
Recipe:  I started with crumb cake card stock (SU!) for the card base.  I used 5 pattern papers from the 6" x 6" pattern paper pad (Joyous by MME).  First I cut the merry christmas pattern paper (4" x 4 1/4").  Then I added a strip of the deep red flourish pattern paper (4" x 1 1/2").  I purposefully have a 1/4" overlap, to allow me to adhered these two pattern papers together.  I then did a simple machine stitching all the way around the front panel.
Next, I cut three different pattern papers 1", 1 1/4", and 1 1/2" wide, and 3" long.  I used scissors to create my flag ends.  I adhered the banner pieces slightly off center and overlapping each other.  I trimmed the blue strip and kraft snowflake pattern papers so that they would fit on the card.  I added two random staples to the upper right corner of the card.
I machine sewn the deep blue seam binding and crochet trim to the card front, using a zig zag stitch.  I tied a long strip of the seam binding into a multi-loop bow.  Then tied the bow to the card front with a piece of kraft twine.  I tied a red button to the bow center, and created a simple bow with the length of kraft twine under the button.  I secured the bow to the card front with a few glue dots.
I took a twig punch and punned out three branches.  I painted the tips with picket fence paint and then dipped the tips into glitter.  On the top twig punch I added three dots of red stickles.
I was inspired by the photo, and used stripes (blue) and polka dots (red), along with some greenery with berries.  To finish my card, I added a light misting of shimmer mist.
Thank you for stopping by.  And I'll post more projects I create with this lovely pattern paper line soon.


Saturday, September 27, 2014

But Without Faith . . .


Welcome.  Come on in.  Sit a spell.  Take a look around.  I am happy you're here!

I hope you have something wonderful planned for this beautiful weekend!  Everyone deserves a chance to take a breath and recharge.   Work this week, has been . . . w o r k.  So, now lets take a moment to do something creative!  Paper craft!  But, lets see what some wonderful challenge sites would like us to create.  And use what we already have!
I first stopped by a new favorite challenge site:  Craft Hoarders Anonymous Challenge Blog.  These creative crafters will sure to inspire you!  Very creative.  Very clever.  Just wonderfully talented.   There challenge this week:  #16 - who loves school and office supplies?  And who doesn't?!
The next stop I made, was over @ Word Art Wednesday.  These creative, talented crafters use bible scripture to inspire their crafts.  How super sweet is that?  They do provide a scripture that influences them, but you don't have to use that particular scripture.  But why not?  They create these scriptures with some beautiful fonts.  
And last, a well established sketch challenge site:  Mojo Monday.   This design team, has a variety of styles and use an equally diverse techniques, so I am sure that you will be inspired with their work, as well.  Here is this weeks sketch:

and here is what I made:


This card was a lot of fun to create, and to be honest, it really didn't take me a long time.  Easily an hour.  I used products that I love, and had on hand.  Which makes it very easy to create, no waiting for delivery {smile}.  Also, I did rotate the sketch.  My office supplies: staples, regal clip (paper clip), and a file folder.  I wanted a feminine card, and now the recipe {smile}.
The card base is Baked Brown Sugar (Stampin' Up!).  The aqua polka dot and ledger paper is from Library Ledger paper pack (Paper Trey Ink).  I did sponge the edges lightly with crumb cake classic ink (SU!).  The file folder is a die by PTI.  I used a digital pattern paper for that piece.  The sentiment (scripture) is downloaded from Word Art Wednesday blog.  I printed it on whisper white card stock (SU!) and matted it onto a scrap piece of pool party card stock (SU!).
I wrapped a piece of crochet trim (SU!) around the front of the card and tied it into a simple bow. I tied a cream button to the bow with some cream twine.  I added a trio of pearls on the sentiment piece, and I also added 5 clear sequins randomly, to give this card a more feminine look.  
I added a strip of aqua striped washi tape, and a fussy-cut, hand-stamped numeral washi tape to the lower left of the card.  I added a regal clip to this area.   I also added a trio of staples around the card.


Thank you for stopping by!  Hope you have a great weekend, and get a chance to do what makes you happy! {smile}


Tuesday, September 23, 2014

Siri's Kitchen


Pion Design is a paper manufacturer from Sweden.  They make beautiful papers, of high quality.  Their look is romantic and vintage themes.  Pion Design is celebrating 5 years of business with a generous give-away.  They will be giving away 5 collections of this new paper: Siri's Kitchen.  All you have to do is post a comment on their blog.  Good luck {smile}.

Sunday, September 21, 2014

Happy Birthday


Welcome.  I hope you had a great weekend.  Me, I spent my time with 4 of my grandchildren.  They are such a great group!  They make me smile and incredibly happy.
I came home in the afternoon on Sunday.  Just in time to make a special birthday card, and a special order of cupcakes {smile}.   So, I set out to my craft room, and my kitchen.  This card is for a special lady that I work with.  This is the same lady who found the recipe for these cupcakes.  What a perfect pair.  To get started, I am playing along with the lovely ladies over @ Sugar Creek Hollow.  Their challenge is called, 'Word Play', they want you to include a sentiment on the paper craft.


I used a scrap piece of my Forget Me Not pattern paper from Poland.  (Lemon Crafts)  I also downsized a digital image to 75% scale.  And then added my own little touches {smile}.
I wrapped a piece of crochet trim around the main pattern paper piece.  I then tied a simply bow.  I matted my downsized digital image onto a piece of texture white card stock.  
I sponged blushing bride classic ink onto a white paper blossom.  I added some dazzling diamond glitter to the petal tips.  I also adhered a trio of buttons to the card front.
For the sentiment, I hand-stamped the Birthday Wishes in basic black classic ink, onto whisper white card stock.  I hand-cut the flag end, and then matted it with a scap piece of soft sky card stock.  I did adhere it to the card front, but really wanted to add some machine stitching.  So, I ran it through three times {smile}.
The card remains blank on the inside.  I did add a note written on a post-it.  That way, if she needs a last minute birthday card, she has one.  I did stamp the envelope flap with my brand.
Ok, now for the cupcakes she wanted me to make:


These are Rolo inspired cupcakes.  The cake is a rich chocolate cake.  I then whipped up some salted caramel buttercream frosting.  And finally, topped the cupcakes with a chocolate granache.  Now, I'm not a fan with the way this chocolate 'sauce' came out.  But, I wanted to follow the recipe for my friend.  I am a huge fan of my granache recipe.  Anyways, I hope she likes her card and her cupcakes!


Friday, September 19, 2014

Celebrate Lagoon


Welcome.   I am on my way out the door to attend a Stampin' Up! meeting.  I just love attending these meetings!  It really does provide a chance for us SU! demonstrators a chance to re-connect with our friends, and fellow SU! demonstrators.  We exchange tips and tricks on paper crafting and on the business of being a demonstrator.  
Anyways, we always swap (share) cards.  We make a single card design and then crank out a dozen to give to the attendees of the meeting.  I knew what I wanted to use - something new.  I am crafting for some upcoming holiday craft fairs.  So, let's make it holiday inspired.  But, what?  Ugh, I was drawing a blank.   I couldn't get my mojo moving.
So, I headed over to Retro Sketches.  They have some very wonderful, user-friendly sketches.  So, here is this week's sketch (and yeah, I have already posted a card with this sketch):


See what I mean?  It is easy to really embellish this sketch.  Or simply keep it clean and simple.  That's what I really love about this sketch challenge site.  You get to showcase your style, use your products, and simply let this sketch shine!   Here is what I made:


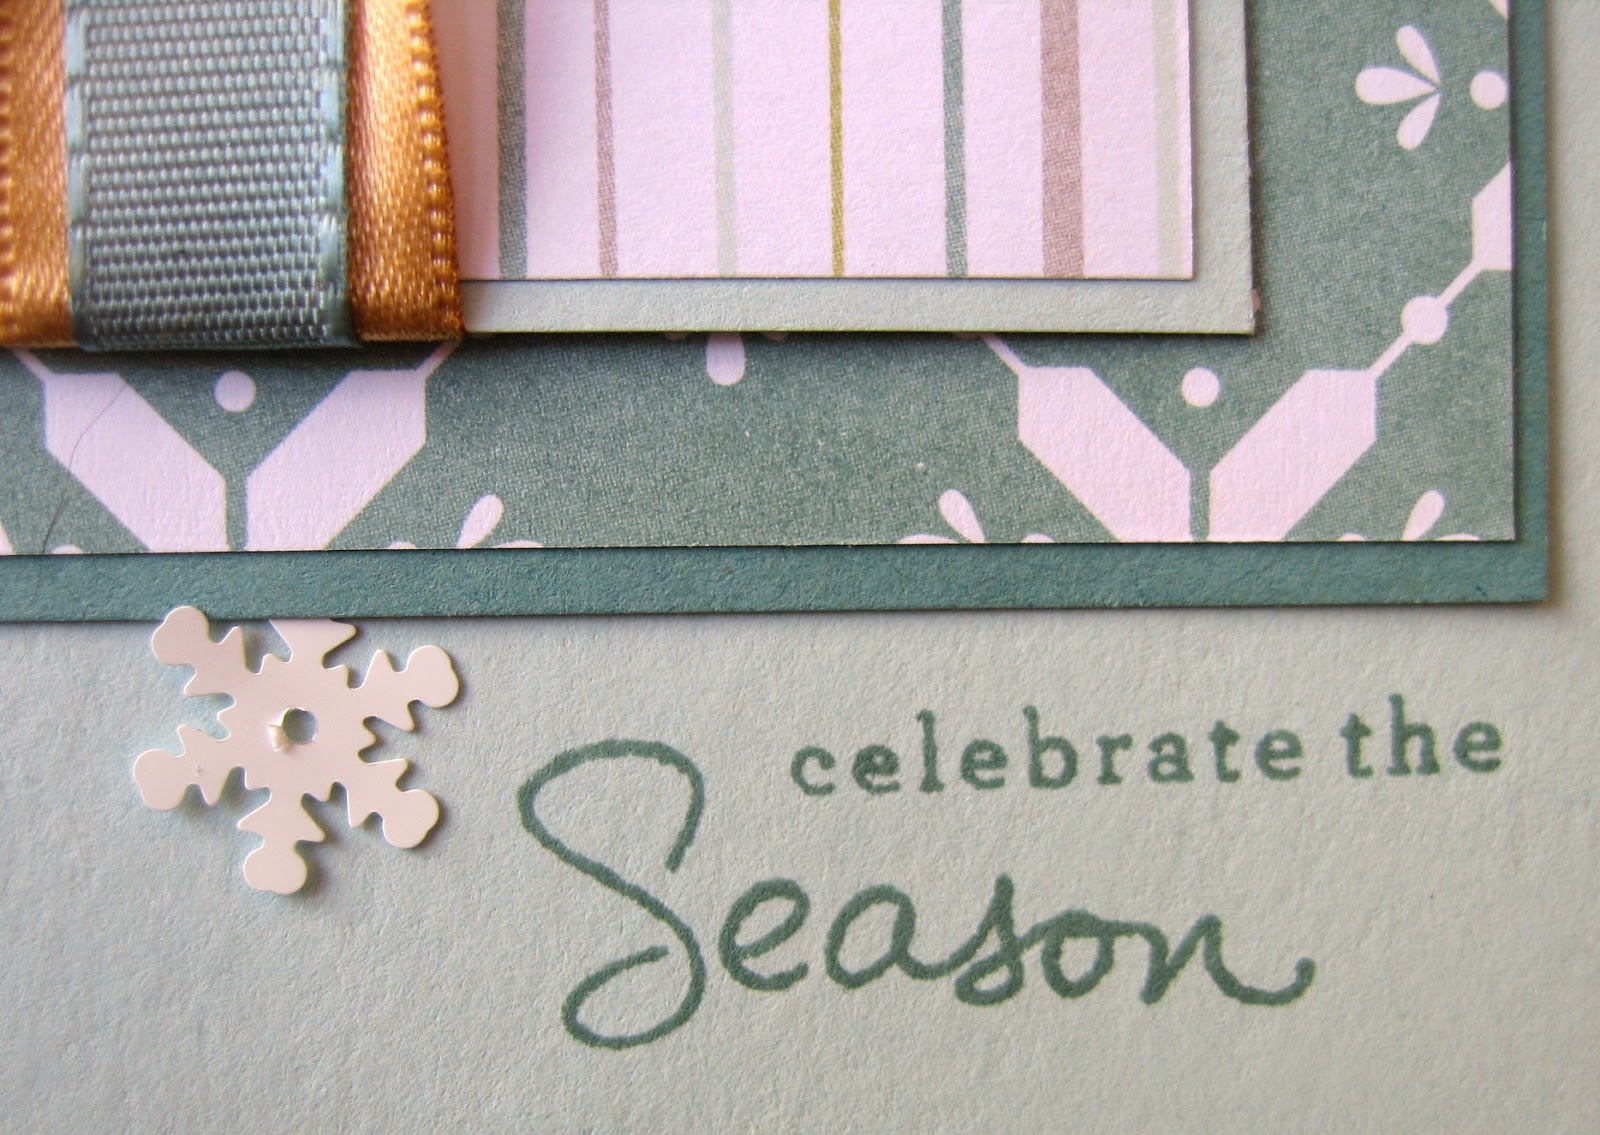
I know.  This is not a typical card for me.  But, I rather like it {smile}.  I used some new holiday pattern paper, matted the pieces.  And then simply stamped right on the card front.  Yikes! that was nerve wracking for me!  I wrapped the center square with the new gold sating ribbon and the new Lagoon taffeta ribbon.  Simply pretty, huh?
Like I said, I'm running out the door.  Take care.  And I hope you get a chance to play along with your favorite challenge!


Wednesday, September 17, 2014

Blessed

WOW! what a crazy week!  Work, has been . . . work.   But the other time of my life has been busy with crafting, grandchildren, children, husband, and a few more!  Early this week, I looked at comments you all have posted on my creations.  And well, my heart was overjoyed!  Your words really do touch my heart, and give me joy! {smile}
And then late this afternoon, I went to see what this weeks challenge is over @ Craft Hoarders Anonymous Challenge blog.  And to my surprise, I was announced as their winner in the last challenge:  pretty flowers.  I am pleasantly surprised and super excited!!!  Me!  I won! How exciting and totally cool is that! {smile}  HERE is my original post.
I wanted to show you a different view of the card that I won with {smile}.  I just can't quit smiling!


Now, break out your office/school supplies, and play along with the talented ladies over @ Craft Hoarders Anonymous Challenge blog.  And create something beautiful!
I want to send out a heartfelt 'Thank You', to the Craft Hoarders Anonymous Challenge Design Team members.  You have made my month!  

Tuesday, September 16, 2014

Featured Designer

Howdy!  Thank you for stopping by.  I apologize for being late on this post.  I should have posted yesterday.  Yesterday, when I received the news that I am a featured designer for the latest challenge (#106) for Cardabilities sketch challenge site.  Here is the original post.
So, here is a different view of the card, that won me this honor:


I am very happy with how my card turned out.  {smile}.  Creating, what I think is beautiful paper crafts, makes my soul happy and that puts sunshine in my life.  
If you get a chance, play along with any challenge, I strongly encourage you to do so.  You just may be amazed how supportive the other participants are! and just how your crafting skills blossom {smile}.

Sunday, September 14, 2014

the Scent of Roses


Thank you for stopping by, and I hope each of you has a chance to create.  Create something fabulous!  Something pretty.  Something you love.  {smile}  I use the word, 'create' because I think it encompasses all forms of self-expression.  Because isn't that what we are doing?  Doing what makes us happy, what calms us, what gives us joy!  I also don't mean this for just those of us who paper craft.  I want to wish everyone who crafts, joy!  Bakers, quilters, painters, paper-crafters, wood-workers, auto mechanics, welders, . . . everyone who creates something with their hands, uses their free-time to practice their 'craft', and everyone who finds pure joy in what they do!  {smile}

I had time today to create a greeting card.  And yeah, in my favorite color: pink.  I don't have a particular occasion for this card, but rather just the desire to create something pretty {smile}.
I stopped by Crafting by Designs to see what these talented ladies have been crafting.  The current challenge is: Pretty in Pink.  I got this!  This is an inspirational challenge site!  So check it out!
I also stopped by Retro Sketches, because these ladies are sure to inspire!  This is the current sketch:


The thing that I love the best about their sketches, is how simply beautiful they are!  It encourages clean and simple designers, and everything all the way to me!  Love the layers!
and here is what I created:


and here is how I created this card:  I started with Pink Pirouette card stock (SU!) for the card base.  The pink floral music sheet pattern paper, is actually a digital download.  I trimmed this paper and then sponged Soft Suede classic ink (SU!) along the edges, so that no white paper would peak through.   [all digital downloads are printed on whisper white card stock(SU!) and the edges are sponged with soft suede classic ink (SU!)]
I cut a piece of the cream/kraft polka dot pattern paper to 3 1/4" x 3 1/4".  (And yeah, another digital download.)  I added some machine stitching all the way around.  I wrapped a piece of Venetian crochet trim (SU!) around the polka dot piece.  The wrapped a piece of blushing bride 1/4" cotton ribbon just over the top edge of the crochet trim.
I printed the ticket (another digital download) and fussy cut the ticket out.  I added foam tape to the back of the ticket to 'lift' it off the front of the card.
I took a plain white paper blossom, and plucked the center out of the blossom.  I sponged Blushing Bride classic ink (SU!) on the tips of the petals.  I brushed picket fence paint (Ranger) to the petal tips, and then sprinkled the paper blossom with Dazzling Diamond glitter (SU!).  I adhered the paper blossom to the card front with my glue gun.  (love my glue gun!)
I added a strip of champagne colored half faux pearls just over where the two trims join.
I tied a simple bow with the same pink cotton ribbon, and adhered it just below the paper blossom with my glue gun {smile}.
I cut a strip of Very Vanilla card stock (SU!)  5/8" wide  (just over a half-inch) for my sentiment.  I stamped the sentiment 'Have a SWEET day.' in soft suede classic ink.  The sentiment comes from the Garden Variety stamp set (PTI).  I used my scissors to create a shallow flag-end to the banner.  I used my tape runner to apply some adhesive to the back of this sentiment banner, and added one lone staple to the left of the sentiment.
And finally, (right?) I adhered a trio of clear iridescent sequins to the card front.  At this time, I finally added the card front to the card base.  That way, the machine sewing and staple are not viewed on the inside of the card.
I am happy with how my card turned out.  It's not what I originally set out to create, when I walked into my craft room and sat at my craft desk.  I actually began working on a pink Christmas card.  It never came together.  {frown}  Oh well.  But I am really happy with what I did create! {smile}


Saturday, September 13, 2014

Watercolor Steampumk

Happy Saturday.  I hope you have had a chance to craft.  If not, I hope you carve out some time tomorrow.  Nothing renews the soul like unleashing your inner artist!
I sell my hand-crafted items in my Etsy shop, and at local craft fairs.  From time to time, I stumble upon an Etsy shop that I make purchases from.  And today, I want to share with you a digital file I purchased a week or so ago.   Aurora Wings, has coloring digital files for grown-ups.  {smile} I really do love to water color, so it was a lot of fun to sit and color this image. {smile}  I am also entering this card in a few challenges.
The crafty gals over @ Sugar Creek Hollow have a fun challenge this time:  Word Play; you need to have a sentiment on your project.  
The wonderful ladies over @ Craft Hoarders Anonymous Challenge Blog would like you to use all the pretty flowers you have been hoarding/collecting.
And finally, the talented ladies over @ Just Us GirlS have trend challenge this week: watercolor!
and here is my card


The card base is soft suede card stock by Stampin' Up!.  The first blue layer is a light blue texture heavy card stock that I purchased from a big box store.  The text paper is from Paper Studios.  I matted the text paper with soft suede card stock.  I used a scrap of G45 french country pattern paper for the scallop.  The scallop shape was cut with the Tasteful Trims die by Stampin' Up!
I wrapped the scallop trimmed pattern paper, a piece of pool party seam binding, and crochet trim around the front of the card.  I made a simple stitch with my sewing machine.  I tied a multi-loop bow with the same seam binding, and adhered the bow to the card front with my hot glue gun.

I printed my digital file onto whisper white card stock by Stampin' Up!.  I used my retired watercolor crayons and an aqua painter (both by Stampin' Up!) to water color the image.
I added some scrap pieces of Glisten pattern paper from Authentique, to the bottom edge of my matted watercolor piece.  I adhered this main piece to the card front with foam tape.
I created a tattered blossom with the tattered pinecone die by Tim Holtz.  I added some glitter to the petal tips.  I used a pale blue card stock for the leaves.  I used a die to cut the leaves.  Then I sponged soft suede classic ink, to the leaf tips.
I made a small tag to hold my sentiment: you mean the world to me   This sentiment is from the One Person stamp set by Verve.
Due to the bulk of the blossom, this greeting card will not fit in an A2 size envelope, so I decorated a large glassine bag.  I used some of the same papers and the same sentiment to decorate the bag.  
Thank you for stopping by.  I hope you have been inspired to watercolor, join a challenge, or simply create something!


Friday, September 12, 2014

Polly's Friday Fun-Day

Happy Friday!  I have some wonderful news today!  But, let me start at the beginning.  
There is a super talented lady, Polly.  I stalk follow Polly's blog.  If you haven't stopped by and looked at her work, YOU SHOULD!  Polly works wonders with Reasonable Ribbon and Graphics 45.  These two craft companies are transformed into very inspirational crafts.  
For instance, a card she made for traffic guard earlier this week.  Absolutely beautiful!  HERE is a link.  Please stop by and have a look.  You won't  be sorry.  But rather the opposite.  You will be inspired!  Her placement of a tag and gift card, is just beautiful!
So, last week, Polly started this great interactive post 'Friday Funday'.  Polly wants to get to know the paper peeps who visit her blog.  How wonderful is that?  So, to do so, she asks you a question or two.  And by answering the questions, you are eligible to win some craft goods!  It doesn't take any work, and the pay-off, if you win, is fabulous!  Last week's questions:  What is the craft tool that you use most often while you're being creative?  What's the one tool you wish you had?  Tell us some random silly thing about yourself.   
And here is what I won!
Butterfly and Bloom Creativity Kit

Here is a link to this weeks post.  Please read the rules, and please participate!  Anyways, I was selected as last week's random winner!  I'll post photos when my gift arrives {smiles}.

Wednesday, September 10, 2014

Wooden Pins

Thank you for stopping by today.  I hope you are well.  I have been busy crafting, and photographing.  The holiday craft fair season is quickly approaching, and so I have been trying to get as much crafts made as I can.  I also want to make my crafts available in my virtual shop HERE.  Remember, if you live/work in the Albuquerque, New Mexico area, and don't require shipping, please use the coupon code: ALB87, and no shipping costs are acquired.  Just leave me a note as to how to contact you so I can get your order to you {smile}.  Also, don't forget if you are a previous customer to my virtual shop, you have been emailed a special coupon code to reduce your merchandise total.


I made another recipe of my home-made chalk paint.  And painted some wooden clothes pins.  Then I used sand paper to distress them.  I also did some hand-stamping.  (I sealed the stamped area.)  The paper blossoms have been painted and glittered before added.  I tied some seam binding into multi-loop bows and adhered them just below the paper blossoms.  And finally, I added a single half faux pearl.  
Some of my altered/decorated pins have push pins, magnets, or plain to simply hold messages together.  The magnetic clothes pins aren't quite dry yet, so they aren't available, at this time.  But come back soon.
If you have any questions, please contact me.  My virtual shop will be closed the day before, day of, and day after my craft fair schedules.  Early shopping ensures the largest selection.  However, if you are looking for something you don't see, please convo me, and maybe I can make a custom order for you!


Tuesday, September 9, 2014

Quick Beautiful Cards

Howdy!  Just one more day to take advantage of the latest promotion for Paper Pumpkin.  It's a monthly subscription for the crafty person on the go!  You will receive a new kit each month right to your door!  How perfect is that?  Each kit is supplied with everything you need to complete that month's project.  Be it a collection of cards, home decor item, or a journal, and so much more!  The first two months you sign up, you will receive half off (YES! half off) the price!  It's a great deal!  And to show my commitment, I am signing up for my subscription, to share with you what I create!  So stay tuned for my posts of Paper Pumpkin!
Ok, now on to todays post.  I know a lot of crafty folks out there who make their own holiday cards, and other paper crafts during the holiday season.  So, to help get you in the giving mood . . .  if you place a $30/+ order on my Stampin' Up! on-line store, your name is entered in a drawing to win (shipping is free, too!) the Everyday Occasions card making kit!  (#134797)


Everyone is eligible!  This beautiful kit comes with everything you need to complete 20 hand-made cards! card stock, envelopes, twine, buttons, clips, pre-cut paper embellishments, small ink pads, an exclusive stamp set, a clear block, and a 'tips & tricks' brochure for making the cards.  See!  
And look at this gift box!  How sweet is that?  

a close-up

This promotion will run until I receive 20 orders of $30/+.  So, don't delay!  Place your order today! and enter your name in this exclusive Ink with Sharon deal!  Just click on my Stampin' Up! store hyperlink on the right side of my blog, and place your order.  Your order will ship right to YOU!  No need to wait for me to sort the orders, package, and mail them out!  Also, after you place your order, if you would like me to mail you an exclusive Stampin' Up! Holiday catalog, just drop me a line!  You can also purchase your Holiday catalog on line, too.  (yeah, it will count towards your $30/+ order {smile})


Sunday, September 7, 2014

Endureth Forever

Welcome.  I'm so happy that you stopped by.  I have been busy creating, and I wanted to share with you my latest creation {smile}.
I recently played along with a great group of ladies over @ Word Art Wednesday, and well, I had such a great time, I decided to play along again this week.  Their challenge blog is very inspirational, and I would recommend playing if you can.  You will have fun, promise {smile}.  
This is this weeks scripture:


I found their words very inspirational and motivating:  'When we base our lives on the truths of God's Word, on His precepts and His plans, our lives are rich in purpose and meaning.  Our foundation is rock solid and eternal.  God Himself is our foundation.'   and in these times, we do need some sense of it ALL.   
I also stopped by the Craft Hoarders Annonymous challenge blog.  This week it is to use all those pretty flowers you have been hoarding collecting.  I don't know about you, but I do have quite a 'collection'.  I purchase what looks pretty to me, and in hopes use them on a wonderfully creative project.  {smile}
And finally, I stopped by Mojo Monday for this week's sketch.  If you aren't aware, the first Monday of each month, is a contest challenge.  That means that you can potentially win a prize if your card is randomly selected {yahoo!}
here is the sketch:


and here is what I created:


I used some more of this beautiful pattern paper I ordered from Sweden: MajaDesigns.  I love it!  The collection is called Vintage Summer.  And it is just gorgeous!
The paper blossoms are from a store in Poland: Lemon Craft.  I really do love the colors and the style of this collection of different blossoms. {smile}
I started with Pastachio Pudding card stock from Amuse Studios.  The card stock is not double sided, therefore, the inside of the card is white.  I machine stitched on both pattern papers.  I matted  the floral block onto bashful blue card stock by Stampin' Up!.  I also did a double stitching around the edges.  I printed the verse on whisper white card stock by Stampin' Up!.  And used some of the scraps of the the green and blue and matted with those, too.
The paper blossom petal tips are brushed with clear crackle paint and sprinkled with dazzling diamonds glitter.  I added a strip of light blue seam binding around the card, and created a multi-loop bow with it, also.  I added a trio of light green half faux pearls to the left side of the card.  I also added a faux green rain drop to the blossoms on the upper right side of the card.
This card is now available for purchase in my Etsy shop, HERE.  Also, stop by my shop to see more photos of this beautiful card.
Thank you for stopping by.  I hope you are having a restful weekend!


Saturday, September 6, 2014

Unite & Excite

yeah, some machine stitching

Today, Stampin' Up! held a business conference in Albuquerque, New Mexico, 'Unite & Excite'.  This session was based on the business aspect of stamping.  You know. . . how to build your client base, how to attract more customers, how to recruit hostess's, and so much more.  It was very informative and a great opportunity to network and reconnect with other Stampin' Up! demonstrators.
Anyways, 2 of my downline attending this event with me.  And so, I wanted to make them a little gift to help with note taking, use some of the new products and create something pretty.  So, I took these little narrow (3" x 5 1/2") flip notebooks and decorated/altered them.  I had so much fun decorating/altering theirs, that I also did one for me {smile}.
here is what I crafted:


I used Lullaby DSP for the pattern paper.  The card stocks are Cabana, Curry, and Baked Brown Sugar.  The banner at the top and the banner at the bottom were both created on my lap top and printed on whisper white card stock.  The 'cre ate' piece was hand-stamped in baked brown sugar classic ink.
The top banner is machine stitched to the pattern paper, before I adhered the pattern paper to the solid card stock.  That way, the machine stitching doesn't show on the inside.  Kinda weird, huh?
Thank you for stopping by today.  Hope your weekend is wonderful and that you get to do what makes you happy!  Me, I'm going to clean the house, and then possibly work on another e-book.

Thursday, September 4, 2014

Paper Pumpkin

Whew, where has this year gone?  I can't believe that we are already into September!  Anyways, I wanted to share a sweet deal Stampin' Up! has going on, but only for a limited time!  only till Sept 10th, 2014.


Do you follow paper crafting blogs to see what we are creating and think you would like to do that, but just don't know where to start, or how to start, or what to buy, and how would you know if something was 'good'?  Well, take all the guess work out of it!  Subscribe to Paper Pumpkin.  It's a paper craft class in a box, that gets delivered right to your door!
Do you say to yourself:  'I'm not creative enough', or 'I don't have time', or 'I don't craft; it's too messy', or possibly: 'I'm not a crafter; I wouldn't know where to start'.  Then Paper Pumpkin is right for you!  Paper Pumpkin is a new monthly kit, that anyone can enjoy, and it comes right to your door!  NO worries about traveling to an event.  And everything you need is included right in the kit: paper, stamps, ink, and accessories to create projects like cards, journals, home decor and more!  Your monthly kit arrives in a sweet box, with all the materials included.  Stampin' Up! has even coordinated everything, measured, and cut everything for you!  How easy is that!
So sign up today! and use promo code: 'HALFOFF2' to receive 50% your first two months subscription.  Curious as to what the past kits look like and what could YOU create?  Well check out the Paper Pumpkin Pinterest boards HERE.  Paper Pumpkin, now has exclusive stamps, and no repeat of any color for a whole year!
So, what are you waiting for?  Join today, and start crafting!  click HERE to put Paper Pumpkin in your shopping card, and start your subscription today!

Tuesday, September 2, 2014

Patience

Howdy! I hope you had a good weekend.  We celebrated Labor Day, yesterday, here in the United States of America.  I had a wonderful weekend.  I did about everything I set out to accomplish.  So that always feels good.
I created a card during my break from 'work' (aka my paying job) and did some crafting.  So, that always makes me smile! {smile}   
A lovely lady, Karen L. had posted the sweetest compliment ever! on a recent post, and suggested that I give her card challenge (Word Art Wednesday) a go.  So, I did.  But, before I show you what I made, I have to admit, that I needed a bit of direction on my creation.  
I stopped by one of my favorite sketch challenge sites, Cardabilities and here is this weeks sketch:


I don't know about you, but I am a FAN of the banner.  Love it.  Don't know exactly why, but I do.
And here is this weeks challenge over @ Word Art Wednesday (challenges inspired by God's word):  


and here is what I created:


I was touched by the write up of the verse.  I don't know about you, but I really do need to learn to slow down, be patient, and give thanks for the moment.  I finally used this beautiful pattern paper I purchased from Poland - Lemon Crafts.  I used the pattern paper and paper blossoms from the collection.  I used a scrap piece of white trim, and white seam binding.  I created a simple bow, die cut some leaves, and distressed the blossom petal tips with white distress paint and diamond glitter.  I did some machine stitching (zig zag) to adhere the trim and seam binding to my banner piece.  I sponged all the edges of paper (pattern and solid card stock) with crumb cake classic ink.  I added a trio of sequins and tiny half faux pearls.
The card is too bulky to fit in an A2 size envelope, so I decorated a large glassine bag to hold the card.  And yeah, this little gem will be for sale in my Etsy shop, HERE.
I hope your week is good.  And don't forget to appreciate what you have, where you are, who loves you, and have patience with everyone around you.