Aww, it's Friday! I have been super busy over the holidays, and so I missed last week's challenge over @ Sketch Frenzy Friday, among other challenges. Unfortunetely, I couldn't find time to craft.
I am this week's 'creator' of the sketch for the sketch challenge over @ SFF. I hope you like this sketch. I wanted to give you something different and something fun! Enjoy!
Here is this week's sketch:

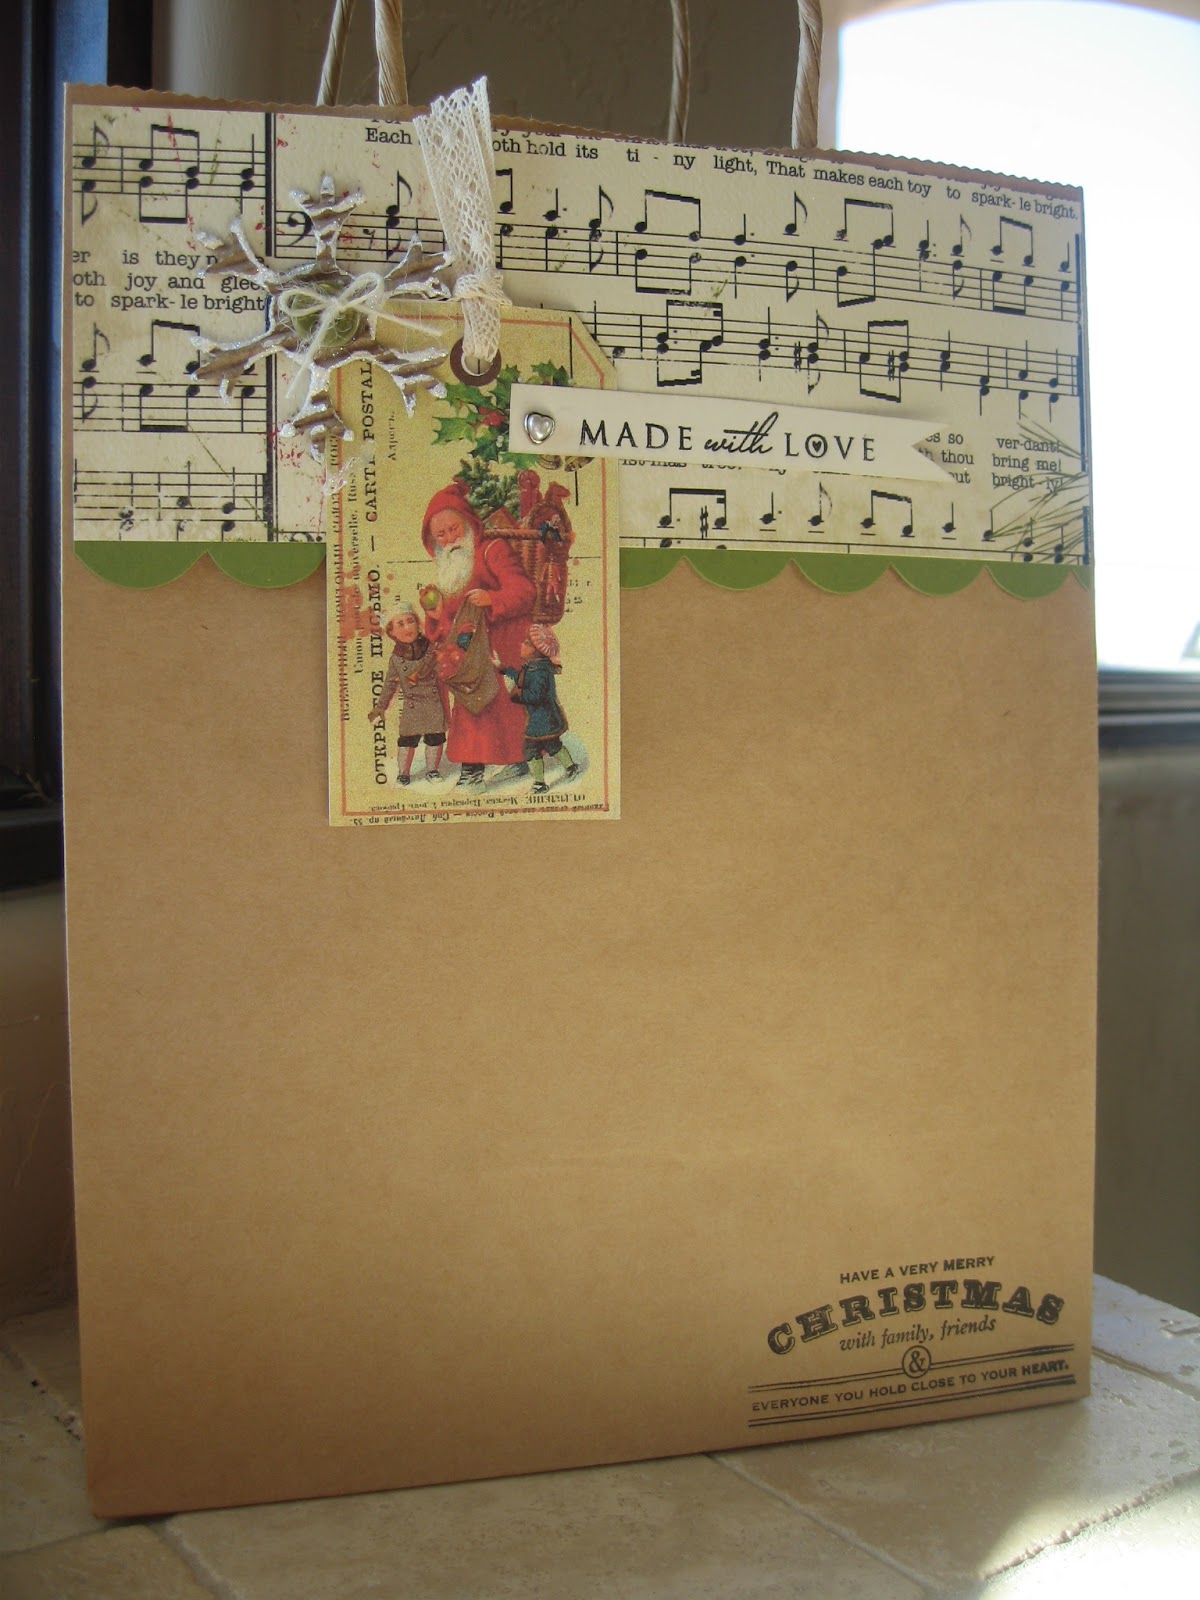
Here is what I created:

I used all Stampin' Up! products to create this card. I am sharing a sneak peak of some new products that will be available next month. I started with crumb cake card stock as the card base. The first layer is Pink Pirouette card stock. I added a pieced of Tea for Two DSP for the main panel. I added a 'new' paper doily. (I have to admit, I just LOVE these new products!) The square piece is very vanilla card stock matted with pink pirouette card stock. The stamp is available during Sale-A-Bration next month as well, in a set called Vintage Verses. The stamp is done is basic black classic ink. The paper flower and 'LOVE' ticket are available in the Artisan Embellishment kit. I used a retired punch to create the leaves. I used whisper white craft ink to distress the edges of the leaves. I wanted to add some pearls, so I took my liquid white glue and made a thin line to create a curve, and applied the pearls. I tied some pink pirouette taffeta ribbon around the bottom third of the card. And viola!
I hope that you get an opportunity to play along with us this week. The new year will be celebrated in a few days, so please carve out a bit of time to play along with us @ SFF.
Happy Crafting! hugs, Sharon W.