Showing posts with label soft sky. Show all posts

Sunday, July 5, 2015

Adventure Camper; gift card holder

Howdy.  I have been busy running.  Yep, running.  I am training for a race in September, and I am surprised by how much time this 'running' takes.  So, between household chores (cooking, cleaning, laundry, etc), working full-time, taking call each week, and various social engagements, I find it rather difficult to carve out time to craft.  
So, today, I made it my priority.  I spent a few hours in my craft room this morning cutting, stamping, and creating {smile}.  It was rather intoxicating.  My whole focus was on that particular activity.  But, as time would have it, I had to stop, and drive into town for a few social obligations.  Once, I was done, I headed back into my craft room.  Only to find, that I had adhered the half snow globe upside down, and I didn't tie my lace trim correctly.  UGH!  and with all of this, my frustration pushed me out the door to run.   
At first, my running was a mere chore.  A duty.  A requirement.  And I wasn't feeling good about being out there hitting the pavement.  So, I changed my mindset.  Because let's face it, if I'm out here running, doing time, counting my distance, and trying to stay focused, I might as well, do a good job at it! Right?  I might as well, run fast enough and hard enough that I have a good pace, and a respectable time.  
In this revolution I was able to clear my head, and constructively figure out how to improve my project, and how to make the next ones 'better'.  It also gave me a chance to think of new color combinations, and accessories to add.  Pretty productive, if I say so myself {smile}
I didn't create this gift card holder for any particular challenge.  I just wanted to craft something beautiful.  And I hope you think I have.  So, without further ado, here is what I made:


Ok, the few things I will change when I made more of these:  I will keep the lace flat on the belly band, and tie the junk bow to it.  The second thing I will change is, I won't add glitter to the dome.  I'll just keep it empty, so it is clear.  And finally, the measurements.  I will make them 4 1/2" x 5 1/2".

Recipe:  The gift card holder measures 4 1/4" x 5 1/2".  The base is kraft card stock from a big box store.  I just love the color.  The weight is on the light side.  But when you add paper to it, it holds up very nice.
The main panel is actually a background stamp ExLibris, from Stampin' Up!, I stamped this in Pool Party classic ink.  (I believe this stamp is no longer available to purchase.)  I added text from another background stamp set, stamped in Tip Toe Taupe.  I also sponged the edges of the stamped card stock.
I used some retired pattern paper in Soft Sky (polka dot) for the belly band.  I added some of the new lace trim in Tip Toe Taupe.  The bottom piece of the snow globe was die cut from Lost Lagoon card stock, by Stampin' Up!.  The bottom scallop layer is from very vanilla card stock, by Stampin' Up!.  
To make the scene inside the dome, I used textured pool party card stock, textured pear pizzazz card stock, and dazzling diamond glitter paper for the snow capped mountains; all by Stampin' Up!
Now, the best part!  That sweet little camper!  The die and stamp set are from Paper Trey Ink.  I think this little gem is just too cute!  I die cut this little gem out of very vanilla card stock, and  I stamped it in pool party classic ink.  I used little scrap pieces of the textured pool party card stock and dazzling diamond glitter paper to make the swags.
The junk bow:  I used scraps of various trims:  fringe tulle, cream cotton trim, white lace, aqua mist saddle stitch ribbon, a pale green gingham ribbon, and cream crochet trim.   It's all tied with the tip toe taupe lace trim, and a pale brown bakers twine was used to attach the tiny tag: let the Adventure begin.
The inside of the gift card holder is het embossed in silver.  This gift card holder, holds those 'packaged' gift cards you can purchase from grocery stores, Walgreens, and such.

Well, thank you for stopping by to see what I have been doing.  I share more of these cute little campers soon.  And we have a few weddings to go to, so you may see a tiny church soon! {smile}


Friday, October 24, 2014

Roses

I had a little time to create something pretty {smile}.  So I used some of this new (ok, new to me) pattern paper from Anna Griffin : Camilla.  Just gorgeous!  For a little focus, I stopped by Mojo Monday to see what their sketch is this week.  And yeah, I can do this!


and here is what I made:


Ok, before you mention it.  The circle shape at the upper right corner of the sketch is 'missing' from my card.  But actually not really!  It's the sentiment ovals: Birthday wishes and Thanks so much 'labels'.  I basically couldn't decide if I wanted to make a Birthday card, or a Thank You card.  So, I made a card, and two sentiments {smile}.  The sentiments are hand-stamped onto shimmer card stock in basic grey classic ink.  I added adhesive to the backs, so just remove the protective layer and stick the sentiment on the card front.  Viola!
Recipe:  I used soft sky card stock for the card base.  Love this color of blue.  It's so soft and sweet.  Just a gorgeous hue!
I used the blue floral pattern paper from the Camilla collection.  I added a text paper strip across the middle.  I wanted something to break up the roses.
I wrapped a piece of white seam binding around the middle of the card.  Love how lovely it looks. (smile)  I tied a multi-loop bow with more white seam binding, and added a 'jewel' from a rhinestone strand by Melissa Frances.
The middle square, is actually a digital download that I shrunk.  It is originally 4" x 4".  But I reduced the size to 75% so it's now a 3" x 3".  I matted this piece onto a scrap piece of soft sky card stock.  
To give my card a little more sparkle/pizzazz, I added 5 clear faceted sequins.  But felt that they needed a little more of something, so I added tiny half-faux pearls to the centers of the sequins.
here is how I envisioned the sentiment on the card:


Thank you so much for stopping by.  I appreciate the company {smile}.  Don't forget, if you are in the Albuquerque, New Mexico area, I will be at Grace Church @ 6901 San Antonio Drive NE on Saturday, November 1, 2014.  It's my first holiday craft fair this season, so it will have all of my latest paper crafting creations, and much more!  Some pieces are just brutal to photograph.  Especially Tussie Mussies {smile} aka paper cones!


Friday, September 19, 2014

Celebrate Lagoon


Welcome.   I am on my way out the door to attend a Stampin' Up! meeting.  I just love attending these meetings!  It really does provide a chance for us SU! demonstrators a chance to re-connect with our friends, and fellow SU! demonstrators.  We exchange tips and tricks on paper crafting and on the business of being a demonstrator.  
Anyways, we always swap (share) cards.  We make a single card design and then crank out a dozen to give to the attendees of the meeting.  I knew what I wanted to use - something new.  I am crafting for some upcoming holiday craft fairs.  So, let's make it holiday inspired.  But, what?  Ugh, I was drawing a blank.   I couldn't get my mojo moving.
So, I headed over to Retro Sketches.  They have some very wonderful, user-friendly sketches.  So, here is this week's sketch (and yeah, I have already posted a card with this sketch):


See what I mean?  It is easy to really embellish this sketch.  Or simply keep it clean and simple.  That's what I really love about this sketch challenge site.  You get to showcase your style, use your products, and simply let this sketch shine!   Here is what I made:


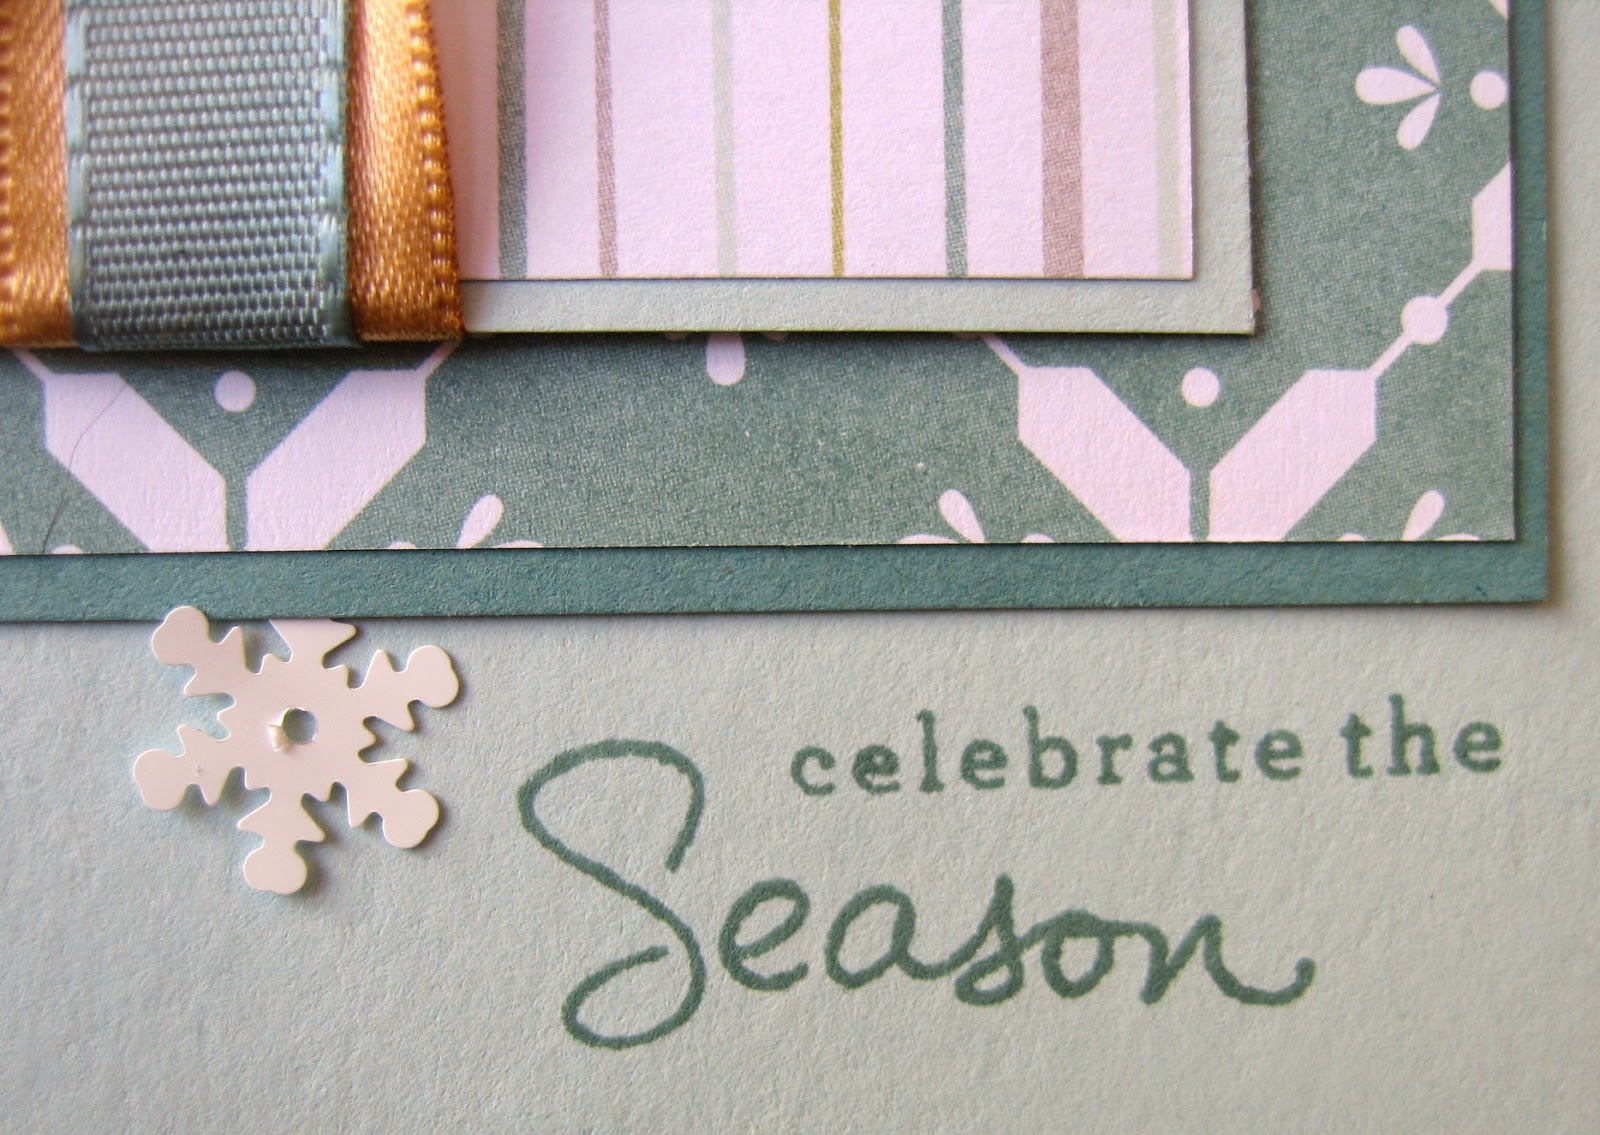
I know.  This is not a typical card for me.  But, I rather like it {smile}.  I used some new holiday pattern paper, matted the pieces.  And then simply stamped right on the card front.  Yikes! that was nerve wracking for me!  I wrapped the center square with the new gold sating ribbon and the new Lagoon taffeta ribbon.  Simply pretty, huh?
Like I said, I'm running out the door.  Take care.  And I hope you get a chance to play along with your favorite challenge!


Tuesday, March 11, 2014

Baby Blue

Whew.  It's been a week since I posted.  My apologies.  I have been busy crafting, and getting some new items in my Etsy shop.  But, I did sit down and craft some projects in blue.  The wonderfully talented ladies over @ the Shabby Tea Room have a super fun and creative challenge this week, entitled: Spring is Near. 

Here is their inspiration photo:

Ok, how gorgeous is that?  The requirements are to use baby blue, a bird and spring flowers.  I'm all over that.  {smile}

here is what I came up with:


Ok, I kinda took the requirements literally.   I don't have any embellishments that are flowers, but I have used some floral pattern papers {don't know if that counts}
Anyways, I used some new and not so new pattern papers.  The  bottom main panel is Melissa Frances.  As for the banners:  Paper Studio, Stampin' Up!, Melissa Frances, Authentique, and My Mind's Eye.   That gorgeous saddle stitch ribbon I used is retired Stampin' Up! and so is the stork image {frown}.

How funny that I used a stork for the 'bird'.  Anyways, I stamped the stork in Jet Black Staz-On solvent ink.  I used my blender pen to 'color' pieces of the image.  The baby is colored with blush blossom classic ink.  The baby's sash and ribbon is Bashful Blue classic ink by Stampin' Up!.  I matted the main image onto a piece of sky blue card stock.  I used a watermark stamp and stamped some random water marks.  
The 'It's A Boy' stamp is from Crafty Secrets.   It's probably 5 yr old, so it may not be available any longer, also.

I used my silver metallic thread to sew the saddle stitch ribbon.  I thought it would add a nice sparkle. {smile}

This pretty organza ribbon is bashful blue by Stampin' Up! and it's retired, too.  Good golly, you'd think that I hadn't shopped for a paper craft item in over 2 years.  I created a simple double bow with the organza ribbon.
I created the tiny tag with the tiny tag die by Paper Trey Ink.  I just love the punched heart piece.  The tag sentiment is from a retired stamp set from Stampin' Up! too; tiny tags.  I stamped 'baby' in Jet Black Staz-On, only because I didn't want to get out of my chair to grab my basic black classic ink.  
To attach the tag to the bow, I simply used a tiny safety pin, in distressed silver.  Nothing fancy, but I thought the addition was quite cute {smile}.
Well, that's all for now.  I'll post a few of the other crafts I have been working on, probably tomorrow or the next day.  Just a heads up, they all use about the same pattern papers and ribbons.  Once I got everything out and started crafting, I just couldn't stop.  I don't typically like things to look too similar, but I am beginning to embrace 'change'.  {smile}
Thank you for stopping by.  I hope you have found some inspiration, and play along with the Shabby Tea Room challenge.


Tuesday, March 22, 2011

WMSC39 & JUGs76

I was browsing the Internet on Sunday, and found these two challenges! Waltzing Mouse Sketch Challenge #39 and one of my favorite places, Just Us GirlS #76. Waltzing Mouse is doing a sketch challenge that I thought looked fun to play. Just Us GirlS is having a color challenge, that looked interesting. So, here is what I came up with. The colors are Baja Breeze, So Saffron, Soft Sky and Pink Pirouette. Now, at first I thought, oh vintage! I love to do vintage! But, this is suppose to be a challenge. So, what about a baby card? I don't really do baby cards. So, I decided my theme would be 'baby', non-gender specific. Now Waltzing Mouse has these fun pennants in the sketch. I don't have pennant dies, stamps, or punches. So, its a challenge, think sharon. What about using a word punch, with a twist? So, that's what I did. I used the modern label punch and folded one end over. Viola!
Now the hard part. Baby theme, with not too much baby stuff. So, I scrounged, and searched. I put all my baby stuff out. Ok, it consisted of three stamp sets, one package of pattern paper, and no embellishments. Pretty sad, huh. So, I used two stamp sets and one sheet from the baby paper. I found this scrap pretty floral circles, in my stash, and one lone doily tag. Viola!
I must have stamped that one-sie ten different times. Each time coloring it, a different color combination in the color scheme. Then, it struck me. What if you flocked it in white and used So Saffron to color the trim? And it worked!
I used linen thread to hang the pennants. I added those cute tiny bows by the brads to help connect it to my card. No sponging. It was hard to resist at first, but I'm really pleased with the end product.
Let me know what you think!