Tuesday, September 30, 2014

Joyous

Welcome.  If I said that I am making Christmas cards, you wouldn't be surprised.  Would you?  Well, yeah, I have started.  For a little background information, if you didn't know, I sell my paper crafts at local Holiday Arts and Crafts Fairs in November and December.  So, to be honest, I am a bit behind in my crafting.  I set a goal for each week, what to have accomplished, and what to work on.  And well, I am a bit behind.  Have you ever had a day (or weekend) where you had chores to do, but just didn't have the motivation?  Well, that is how it has been for me.  So, my stock is low, my motivation is low, and my mojo is low {frown}  But, I hope to turn that around.  
I stopped by a challenge site that I stalk frequent, but never participate.  Not really sure why I don't participate.  It's basically up my alley.  So, I have run out of excuses.  Until today!  Today, I have made a decision to participate and see what I can create with the many boxes of Christmas paper crafting supplies I have on hand.  But, today I want to 'play' with some new supplies I received in the mail last week: Joyous by My Mind's Eye.  I love vintage, and nostalgia.  So, this paper collection is perfect for me!
Now, let's swing by Merry Monday Christmas Challenge to see what these talented crafters have created, and what our inspiration is for the week.


Ok, so Merry Monday asks that you use polka dots, or stripes, or both.   Are you kidding?  I can do that!  Now, look at this beautiful inspiration photo: stockings, red stripes, and holly trimming the fireplace.  How home-y is that?
ok, here is what I made:


Before you say anything.  I think the pop of blue really brings out the reds in this card.  I got the idea of using some blue from the main panel on this card.  The blue bird and the blue string that is tied to the sentiment tag.
Recipe:  I started with crumb cake card stock (SU!) for the card base.  I used 5 pattern papers from the 6" x 6" pattern paper pad (Joyous by MME).  First I cut the merry christmas pattern paper (4" x 4 1/4").  Then I added a strip of the deep red flourish pattern paper (4" x 1 1/2").  I purposefully have a 1/4" overlap, to allow me to adhered these two pattern papers together.  I then did a simple machine stitching all the way around the front panel.
Next, I cut three different pattern papers 1", 1 1/4", and 1 1/2" wide, and 3" long.  I used scissors to create my flag ends.  I adhered the banner pieces slightly off center and overlapping each other.  I trimmed the blue strip and kraft snowflake pattern papers so that they would fit on the card.  I added two random staples to the upper right corner of the card.
I machine sewn the deep blue seam binding and crochet trim to the card front, using a zig zag stitch.  I tied a long strip of the seam binding into a multi-loop bow.  Then tied the bow to the card front with a piece of kraft twine.  I tied a red button to the bow center, and created a simple bow with the length of kraft twine under the button.  I secured the bow to the card front with a few glue dots.
I took a twig punch and punned out three branches.  I painted the tips with picket fence paint and then dipped the tips into glitter.  On the top twig punch I added three dots of red stickles.
I was inspired by the photo, and used stripes (blue) and polka dots (red), along with some greenery with berries.  To finish my card, I added a light misting of shimmer mist.
Thank you for stopping by.  And I'll post more projects I create with this lovely pattern paper line soon.


Saturday, September 27, 2014

But Without Faith . . .


Welcome.  Come on in.  Sit a spell.  Take a look around.  I am happy you're here!

I hope you have something wonderful planned for this beautiful weekend!  Everyone deserves a chance to take a breath and recharge.   Work this week, has been . . . w o r k.  So, now lets take a moment to do something creative!  Paper craft!  But, lets see what some wonderful challenge sites would like us to create.  And use what we already have!
I first stopped by a new favorite challenge site:  Craft Hoarders Anonymous Challenge Blog.  These creative crafters will sure to inspire you!  Very creative.  Very clever.  Just wonderfully talented.   There challenge this week:  #16 - who loves school and office supplies?  And who doesn't?!
The next stop I made, was over @ Word Art Wednesday.  These creative, talented crafters use bible scripture to inspire their crafts.  How super sweet is that?  They do provide a scripture that influences them, but you don't have to use that particular scripture.  But why not?  They create these scriptures with some beautiful fonts.  
And last, a well established sketch challenge site:  Mojo Monday.   This design team, has a variety of styles and use an equally diverse techniques, so I am sure that you will be inspired with their work, as well.  Here is this weeks sketch:

and here is what I made:


This card was a lot of fun to create, and to be honest, it really didn't take me a long time.  Easily an hour.  I used products that I love, and had on hand.  Which makes it very easy to create, no waiting for delivery {smile}.  Also, I did rotate the sketch.  My office supplies: staples, regal clip (paper clip), and a file folder.  I wanted a feminine card, and now the recipe {smile}.
The card base is Baked Brown Sugar (Stampin' Up!).  The aqua polka dot and ledger paper is from Library Ledger paper pack (Paper Trey Ink).  I did sponge the edges lightly with crumb cake classic ink (SU!).  The file folder is a die by PTI.  I used a digital pattern paper for that piece.  The sentiment (scripture) is downloaded from Word Art Wednesday blog.  I printed it on whisper white card stock (SU!) and matted it onto a scrap piece of pool party card stock (SU!).
I wrapped a piece of crochet trim (SU!) around the front of the card and tied it into a simple bow. I tied a cream button to the bow with some cream twine.  I added a trio of pearls on the sentiment piece, and I also added 5 clear sequins randomly, to give this card a more feminine look.  
I added a strip of aqua striped washi tape, and a fussy-cut, hand-stamped numeral washi tape to the lower left of the card.  I added a regal clip to this area.   I also added a trio of staples around the card.


Thank you for stopping by!  Hope you have a great weekend, and get a chance to do what makes you happy! {smile}


Tuesday, September 23, 2014

Siri's Kitchen


Pion Design is a paper manufacturer from Sweden.  They make beautiful papers, of high quality.  Their look is romantic and vintage themes.  Pion Design is celebrating 5 years of business with a generous give-away.  They will be giving away 5 collections of this new paper: Siri's Kitchen.  All you have to do is post a comment on their blog.  Good luck {smile}.

Sunday, September 21, 2014

Happy Birthday


Welcome.  I hope you had a great weekend.  Me, I spent my time with 4 of my grandchildren.  They are such a great group!  They make me smile and incredibly happy.
I came home in the afternoon on Sunday.  Just in time to make a special birthday card, and a special order of cupcakes {smile}.   So, I set out to my craft room, and my kitchen.  This card is for a special lady that I work with.  This is the same lady who found the recipe for these cupcakes.  What a perfect pair.  To get started, I am playing along with the lovely ladies over @ Sugar Creek Hollow.  Their challenge is called, 'Word Play', they want you to include a sentiment on the paper craft.


I used a scrap piece of my Forget Me Not pattern paper from Poland.  (Lemon Crafts)  I also downsized a digital image to 75% scale.  And then added my own little touches {smile}.
I wrapped a piece of crochet trim around the main pattern paper piece.  I then tied a simply bow.  I matted my downsized digital image onto a piece of texture white card stock.  
I sponged blushing bride classic ink onto a white paper blossom.  I added some dazzling diamond glitter to the petal tips.  I also adhered a trio of buttons to the card front.
For the sentiment, I hand-stamped the Birthday Wishes in basic black classic ink, onto whisper white card stock.  I hand-cut the flag end, and then matted it with a scap piece of soft sky card stock.  I did adhere it to the card front, but really wanted to add some machine stitching.  So, I ran it through three times {smile}.
The card remains blank on the inside.  I did add a note written on a post-it.  That way, if she needs a last minute birthday card, she has one.  I did stamp the envelope flap with my brand.
Ok, now for the cupcakes she wanted me to make:


These are Rolo inspired cupcakes.  The cake is a rich chocolate cake.  I then whipped up some salted caramel buttercream frosting.  And finally, topped the cupcakes with a chocolate granache.  Now, I'm not a fan with the way this chocolate 'sauce' came out.  But, I wanted to follow the recipe for my friend.  I am a huge fan of my granache recipe.  Anyways, I hope she likes her card and her cupcakes!


Friday, September 19, 2014

Celebrate Lagoon


Welcome.   I am on my way out the door to attend a Stampin' Up! meeting.  I just love attending these meetings!  It really does provide a chance for us SU! demonstrators a chance to re-connect with our friends, and fellow SU! demonstrators.  We exchange tips and tricks on paper crafting and on the business of being a demonstrator.  
Anyways, we always swap (share) cards.  We make a single card design and then crank out a dozen to give to the attendees of the meeting.  I knew what I wanted to use - something new.  I am crafting for some upcoming holiday craft fairs.  So, let's make it holiday inspired.  But, what?  Ugh, I was drawing a blank.   I couldn't get my mojo moving.
So, I headed over to Retro Sketches.  They have some very wonderful, user-friendly sketches.  So, here is this week's sketch (and yeah, I have already posted a card with this sketch):


See what I mean?  It is easy to really embellish this sketch.  Or simply keep it clean and simple.  That's what I really love about this sketch challenge site.  You get to showcase your style, use your products, and simply let this sketch shine!   Here is what I made:


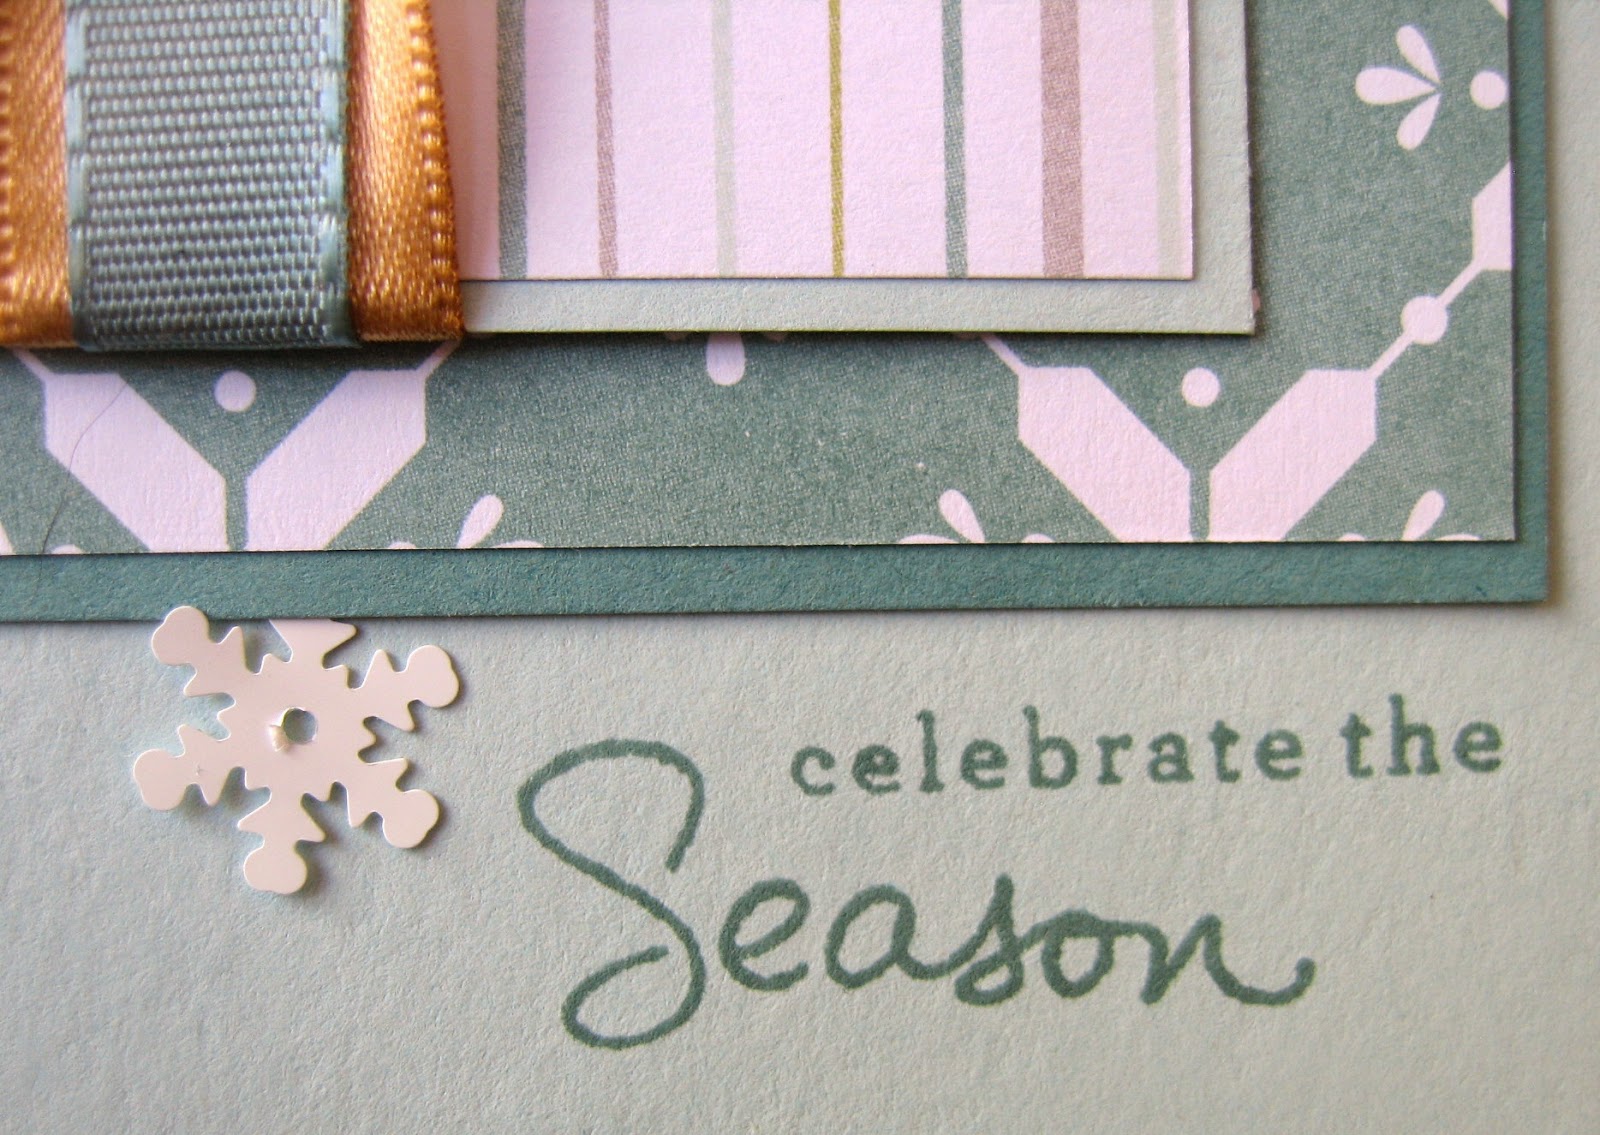
I know.  This is not a typical card for me.  But, I rather like it {smile}.  I used some new holiday pattern paper, matted the pieces.  And then simply stamped right on the card front.  Yikes! that was nerve wracking for me!  I wrapped the center square with the new gold sating ribbon and the new Lagoon taffeta ribbon.  Simply pretty, huh?
Like I said, I'm running out the door.  Take care.  And I hope you get a chance to play along with your favorite challenge!


Wednesday, September 17, 2014

Blessed

WOW! what a crazy week!  Work, has been . . . work.   But the other time of my life has been busy with crafting, grandchildren, children, husband, and a few more!  Early this week, I looked at comments you all have posted on my creations.  And well, my heart was overjoyed!  Your words really do touch my heart, and give me joy! {smile}
And then late this afternoon, I went to see what this weeks challenge is over @ Craft Hoarders Anonymous Challenge blog.  And to my surprise, I was announced as their winner in the last challenge:  pretty flowers.  I am pleasantly surprised and super excited!!!  Me!  I won! How exciting and totally cool is that! {smile}  HERE is my original post.
I wanted to show you a different view of the card that I won with {smile}.  I just can't quit smiling!


Now, break out your office/school supplies, and play along with the talented ladies over @ Craft Hoarders Anonymous Challenge blog.  And create something beautiful!
I want to send out a heartfelt 'Thank You', to the Craft Hoarders Anonymous Challenge Design Team members.  You have made my month!