Showing posts with label satin ribbon. Show all posts

Sunday, January 21, 2018

Oh Deer, Winter . . .

~ photo heavy ~

Howdy, and welcome back.  Yeah, some days I craft, and craft some more, and other days, I am busy with life's chores.  Lucky for me, this weekend has been one of those craft, and craft some more days {smile}.  Now, before everyone gets too excited, it's snowing like crazy here, and the wind is blowing harder/faster than a ________.  (I'll let you fill-in-the-blank)  So, I have re-arranged my running schedule: todays run will be run tomorrow, and tomorrows run will be run on Tuesday.  The treadmill work will be done . . . . not sure at this moment, but I need to get some miles done.  So, I am focusing on that.
Ok, now for some crafting!  I am working on a few holiday themed orders, and entering one of them in three (yes, 3!) challenges:  Catch the Bug Challenge, Time Out Challenge and Tic Tac Toe Challenge.  Now, I believe that the last two challenges are 'new-to-me' challenges, so this will be fun!
Let's start with Catch the Bug Challenge.  I see their sketches a lot, and have wanted to play, so I am not one hundred percent that I haven't played with them before.  But, just look at this current challenge sketch!  How beautiful!
The first thing that catches my eye about this sketch is the simplicity: aka easy to work with!  You can do so much with it, or leave it clean and simple.  Me, I'm more on the more is better.  And if you haven't fallen in love with this sketch yet, simply look at what the design team has created, and you will be running to your craft room.  (just like me!) 
Ok, now on to the Time Out Challenge.  Their current challenge is to be inspired by words.  Their words.  Here is their graphics:
I went with: Gift & Open it
Ok, I don't know about you, but this screams gift card holder to me.  Or how about Birthday, or a Thank You gift, or . . .  another endless possibilities challenge.  Oh, and don't forget to see what the design team has created.  Super fun!
And my last stop, is Tic Tac Toe Challenge.  Another fun, and creative group of folks.   This may be a regular challenge for me.  (smile)
I went diagonal: light blue, ribbon, and sequins
and here is what I made:


and another view:


This over-sized card, is actually a 'packaged' gift card holder.  It's for those gift cards that are purchased that have these think wrappers.  So, instead of ripping apart the packaging to get the gift card out, simply slide the whole package into the pocket of this gift card holder!  Ta-Da!


Recipe:  I used Cocoa Bean card stock from Paper Trey Ink.  Love the heavy weight of their card stock, it gives these types of projects stand-up power!  I used Pool Party card stock by Stampin' Up! for the matts.  I just love this shade of pale/light blue.  The pattern papers I used were from the same collection: Oh Deer! by Close To My Heart.  (It was from 2016)  and yes, I hoard saved my scraps.
I did some machine stitching to hold the layers of paper in place, along with some adhesive.  The gold satin ribbon and cream crochet trim are also machine stitched to the cover.  I thought the gold satin ribbon matched the music pattern paper beautifully.
The sentiment rectangle is actually a journalling square that was cut down and matted with a scrap of Cocoa Bean card stock.  I added a retired mini paper clip to the top left corner of it, and a pair of silver sequins to the right corner.  It is adhered to the card front with foam tape to lift it off the card front.  
The paper blossom is actually from the Sweet Peppermint collection by Prima Marketing.  I just love how it adds just the right amount of contrast to the blue, without looking too gold.  
I painted and glittered two silver jingle bells, and tied them with some silver and cream bakers twine.  I then tied a triple-bow with the same bakers twine, and tucked it under the paper blossom.  I added a retired Stampin' Up! snowflake charm to the knot.  I added one lone silver sequin just to the left of the paper blossom to help repeat the silver accents.
The three banner pieces peaking out from under the pinecone pattern paper are simply scraps of this beautiful collection.  I flagged the ends with a pair of scissors.
Since my focal piece is the sentiment, I decided to add some embellishments to the lower right corner, instead of a sentiment.  So, I took two silver foil embossed pinecone die-cuts from the Oh Deer! collection and adhered them.  The top pinecone is adhered with foam tape, so that they wouldn't be smashed on.  I tied some of the same silver and cream bakers twine to a snowflake charm, and hot glued it to the stacked pinecones.  
Thank you for stopping by.  I hope you have been inspired to play along with any/all of these challenges.  Enjoy the rest of your weekend.  Hope to be back soon {fingers crossed}.

Monday, January 11, 2016

Cream & Gold Fabric Strip Banner

Howdy!  I'm having a lot of fun, and excited to share with you another fabric strip banner.  This one is a little more elegant.  I used all neutral colors: cream, vanilla, white, beige, taupe, brown, and gold.
I also used a variety of textures: linen, cotton, satin, sequin, and chiffons.


The particulars:  I used five different, but beautifully coordinated fabrics: taupe polka dot, beige diamond pattern, gold foil polka dot, cream, and gold sequin fabric.  I just love how pretty and elegant these look together!  This hand-tied fabric strip banner is 4feet wide.  There is 18 inches of twine at each end to make it easy to secure this banner.  The strips measure approximately 10 inches long.
So, I added some pretty trims {smile}.  I added a brown natural cotton wired ribbon.  I just love the texture that it adds.  I also added three different but beautiful laces: antique gold, cream floral, and white lace.  For the ribbons, I added two different satin ribbons: beige and vanilla striped.  I also added gold sequin trim and white rosette trim.  I love how the stripes and polka dots work so well together.  {smile}


Use this hand-made, homespun banner to dress-up a window, a headboard, a wall, or crib, etc.  You can also use this decorative piece to decorate your next party!  Hang this banner at the edge of a cake/gift table, use as a backdrop for the cake table, or photo booth!  Let the pinks and purples add that special girl-y touch to your next birthday party/tea!
This banner has been added to my Etsy shop, HERE.  This beautifully hand-tied fabric banner is ready to ship, but if it doesn't sell soon, you can see it in person at this year's Trash to Treasure Trunk Show @ Nativo Lodge in Albuquerque, NM on Jan 23, 2016.


Wednesday, November 11, 2015

Homemade Fancy Christmas

I had so much fun making my last gift bag, that I decided to continue working with the latest sketch from Mojo Monday.
I also stopped by the Merry Monday Christmas Challenge site.  Because let's face it, I'm working on Christmas crafts, so why not let them help inspire me to create something beautiful!

The folks over @ Merry Monday Christmas Challenge,  have a inspiration photo, and a color challenge: pink, green, and white.  I can do that!
here is what I made:


I rotated the sketch.  I also changed the circle element for another square element.  I used ribbon and trim for the long banner piece.  I did add a floral element but I tied on an ice skate!  I used a holiday image and sentiment.  Both of which are heat embossed with early espresso embossing powder, on shimmer white card stock.  

close-up

For the 'panels' I matted each of the pattern papers with kraft card stock.  I also added some machine stitching to these pieces.  I think this adds a homespun look and feel.  I used Happiness is Homemade pattern paper from Tilda.  The large pink blossom is a Melissa Frances item.  I used a light champagne shimmer textured card stock for the base of the bag.  
Thank you for looking.  I hope you have been inspired.  Now, I'm headed back into my craft room, to finish some jar toppers, desk top calendars, and some magnetic monograms.  Oh, and my trophy cups, and some altered salt shakers.  Whew, sounds like a lot, but once I get started, it moves along quickly.


Sunday, July 19, 2015

Vintage Green Birthday; Card


A little teaser of the card I made earlier today.  Yeah, still fighting with the internet.  Gotta love it!  It's teaching me how to have patience, and good old fashion reading from a book.  {smile}
Us ladies at work, are throwing a birthday party for one of our co-workers.  And, I was asked to make a card.  Me? Easy peasy!
I went to one of my favorite sketch challenge sites to help get the creative juices flowing:  Mojo Monday.  The sketches these ladies create are just so easy to work with.  And the design team will not disappoint you, they will inspire you!
here is the current sketch:

I did flip the sketch, so the star element is on the right side, instead of the left.
Here is what I crafted!


Once again, I used crafting supplies I already had on hand.  I originally started with a pink and green pattern papers.  But, something just didn't look 'right'.  So, I decided not to fight with it, and look at other options.  The pattern paper is Stella Rose.  I used three different papers, but four patterns.  The butterflies are the flip side of the dark wood grain pattern paper.
I used my favorite kraft card stock by Paper Studio.  This card is 6" x 4 1/4".  And uses an A6 envelope.  I layered the pattern papers, sponged the edges, and distressed.  
I used the Tasteful Trim die from Stampin' Up! to create that beautiful scallop piece.  I added a scrap piece of a delicate cream and gold lace trim to the scallop piece.  
For the star element, I used a teal paper flower.  I tucked a simple bow tied with Aqua Mist satin ribbon, by Paper Trey Ink.  
I added a trio of tiny vintage buttons is cream, aqua mist, and linen.  I tied a simple knot with kraft twine.
For the sentiment, I stamped 'Birthday Wishes' from the Watercolor Trio stamp set, in Baked Brown Sugar classic ink.  I hand cut the banner end.  I layered the cream card stock onto a scrap piece of kraft card stock, and adhered it to the top left corner of the butterfly pattern paper.

a different view
I hope our friend and co-worker likes her card, and our little party.  She is really sweet, easy to talk to, has your back, and is always willing to help you with whatever comes along.
Well, let me get this posted while I still have working internet {smile}.


Sunday, June 14, 2015

Cute Baby; Card

Howdy!  I had a few custom orders to get completed and out in the mail.  Whew.  Love being busy.  It keeps me focused.  And on a personal note, I am up to 7 miles.  Running.  I am working on my time, and distance.  [If  you didn't know, I am training for a half marathon.  check out my InstaGram page.]
The easiest paper crafting style I can create, is shabby chic, with a bit of vintage thrown in for good measure.  I am a sucker for pink, vanilla, text, seam binding, lace, and paper blossoms.  And thanks to the world wide web, I can see what folks from a round the world create.  And so, for today's card, I am participating in two Russian challenges.  
To give me some inspiration, I chose to work with the inspiration board provided by Scrap Magic.


They have requirements.  Colors: Sand, & Pink.  Mandatory elements: rose, ribbon, metal, and wear.
What a beautiful collage.  I love the soft, sweet colors, and the little additions of gold.  Very pretty. This challenge closes on July 1st.  So, I may be submitting another paper craft {smile}.

Now, to give me some direction, I chose to work with art-kladovaya.  I love this sketch!  


I love the circle elements and the pattern piece at the top right of the sketch.  This challenge is almost closed.  this challenge site closed minutes before I could add my entry.  {frown}

And here is what I created:


Recipe:  I used a kraft yardstick from a big box store.  I love the softness of the kraft brown.  For the pink bottle pattern paper, I used Carta Bella latest baby girl pattern paper.  For the pink & brown polka dot  pattern paper, its a scrap from Impressions (at least 8 yrs old).
I did  a double simple border stitch.  I added a little distressing to the edges of the papers, including sponging.  I tore the paper and added a scrap piece of cotton trim in the tear, and then added some stitching along the bottom of the tear.
I added three different ribbon scraps under the heart brad for my sentiment.  I added a trio of paper blossoms (two pink, and one brown)  I thought the colors would go nicely with the card.  I added leaves cut from text paper, to give some contrast.  I added two kraft vintage buttons by Paper Trey Ink.  I added a 'cute' lightbulb and a scrap piece of cream tule.

Thank you for stopping by!  I'll get back in my craft room.  I have a few special orders to get out in the next few weeks.  {smile}  A little sneak peak, I ordered some beautiful holiday elements to add to my Christmas crafts for this years craft fair.  I'm super excited to see them in person!

Monday, June 1, 2015

Fabric Scrap Wreath

~ photo heavy tutorial ~


Howdy!  I made a wreath from fabric strips, and a few ribbon pieces.  I was so happy with the final result, that I want to share with you all, on how I did it.  Now, if you search the internet, you will find a lot, (and I do mean ALOT of tutorials).  
Supplies:
3 fat quarters (I washed the fabric before I tore the strips)
3 ribbons
1 lace trim
wire wreath
scissors
(you could very simply use 4 fabrics and 2 ribbons and a lace trim)
I used european size fat quarters, and had some fabric left over.  The ribbons I used, were neutrals, and one pink.  I also used some lace trim.  The wire wreath I used is an eight inch round.

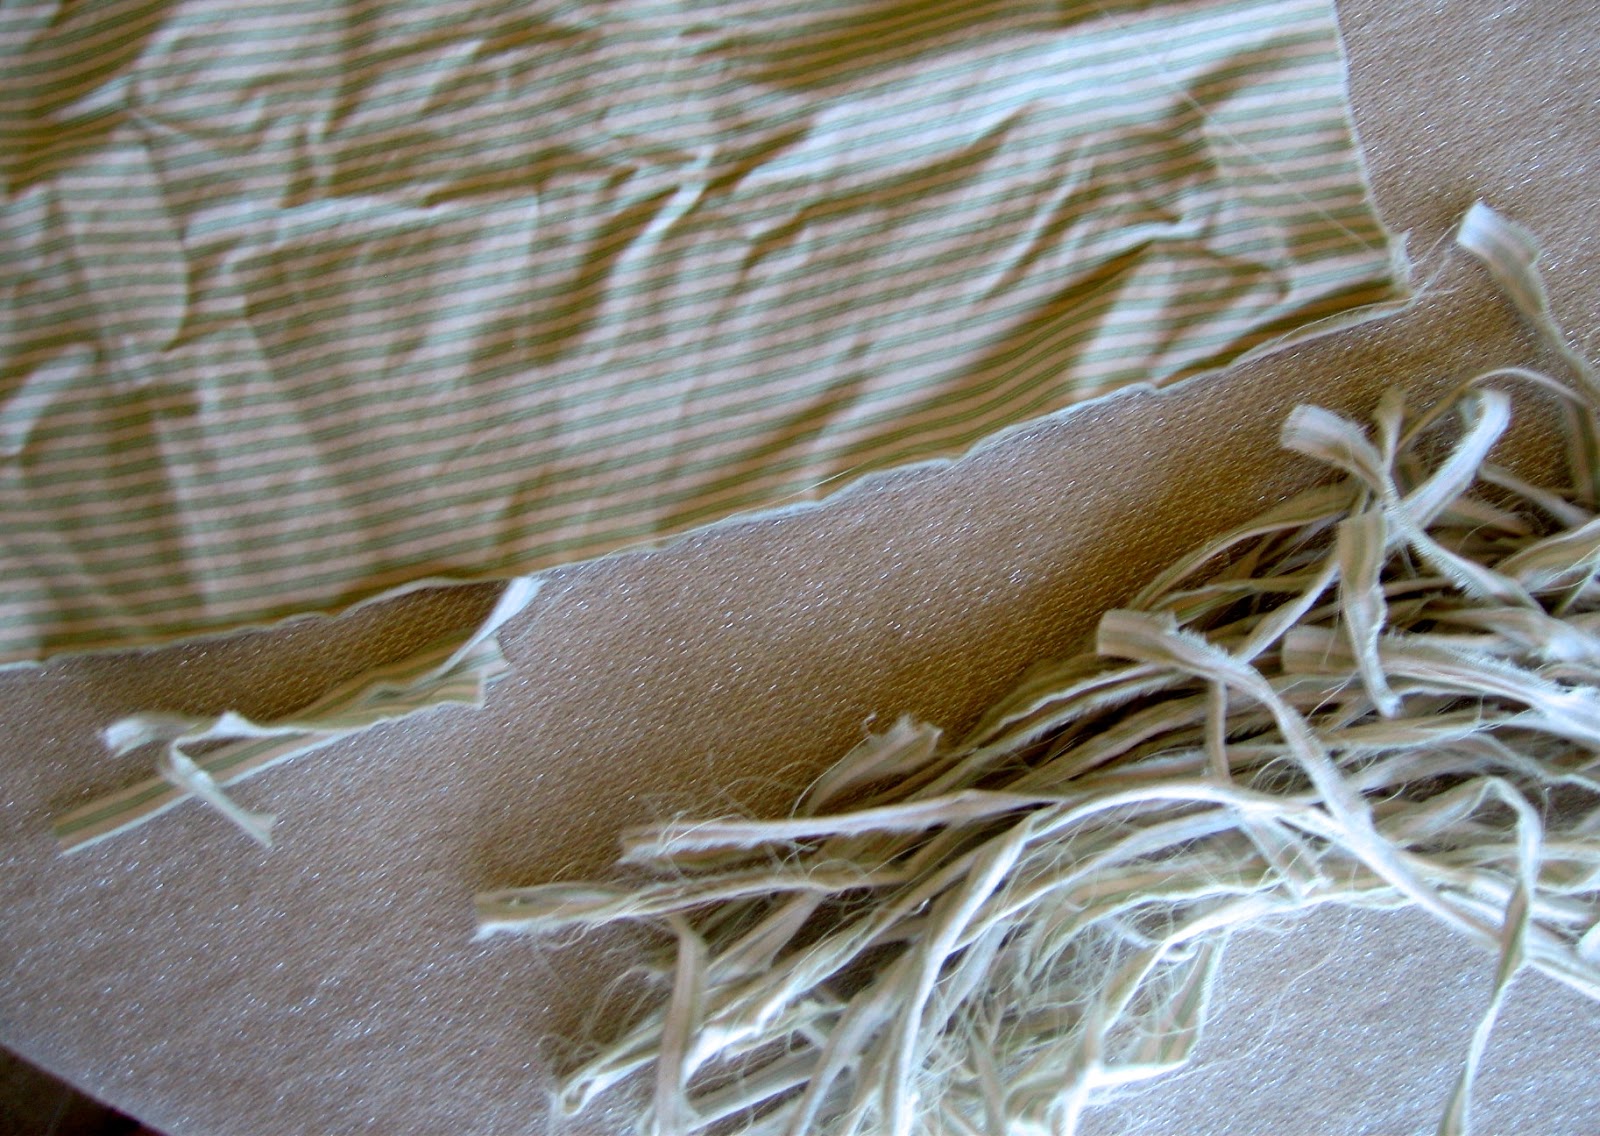
The pattern on this stripe fabric is simple, so I tore 1/2" strips, and then cut the strips into quarters.

This pattern is a bit more busier, so I tore 3/4" strips, and then cut the strips into quarters.

The largest pattern, I tore 1" strips, and then cut the strips into quarters.

I measured out a foot, from each fabric, then made little snips with my scissors, and then tore the strips.  I cut each strip into quarters, so that each scrap measures approximately 5" long.


I cut a variety of ribbons and trims into 5" lengths.  I also cut several strips of pink satin ribbon with white polka dots.  
I then decided on a pattern for my scraps to go on to the wreath.  I wanted a random look, but I don't really do 'random'.  I do structured 'random'.  {smile}
I started on the inside wire, and then progressed to the next wire, and the next, and finally the outer wire.  I attached the fabric strips to the wire frame in a loop like fashion.  [several tutorials say to tie the fabric strips, but i didn't like the idea.  {frown}]

not the sequence, just an image to show the looping
Once I finished looping the fabric strips around the wires, I went through to ensure that each wire segment had the same fullness.  So, there was some adding, and a few changing of ribbons and fabrics.  

Until, ta-da!


Thank you for looking!  I hope this tutorial was informative.  And that you create a fabric strip wreath, too! {smile}


Monday, January 19, 2015

Sherbet Heaven

Howdy! I'm so happy that you could take a moment, and stop for a visit, here in my little piece of blog-land {smile}.  I went exploring the world wide web this morning, and decided to play along with some 'tried and try' challenges, and a brand-y new one to me {smile}.
Each Monday, the super talented ladies over @ Mojo Monday (#381) give you a sketch, and then give you some fabulous inspiration!  And well, this Monday, was no different!  The sketch is basic, but that only provides you with an opportunity to add your own flair!  here is this week's sketch:

And the wonderfully talented and gracious ladies over @ Word Art Wednesday (#166) share with us scripture each week, along with some very creative inspiration!  Their challenge site, has real life stories of people triumph and pearls and teaches us each, to have faith, to be good Christians, and in turn to be better human beings.  If you haven't had a chance to stop by their challenge site, I encourage you to do so.  You will not be disappointed.  And please, take a moment out of your busy day, to read their post.  It will truly inspire you!

Their challenge this week is Anything Goes.  So how fabulous is that? scripture and the freedom to create!  A true blessing to share your talents with them, and us {smile}!
Ok, and so I did stop by a 'new-to-me' challenge site this morning, to see, a wonderful color palette, right up my alley!  cure for the monday blues.  This week, we have been provided us with an inspirational board of pink, yellow, mint, and geometric shapes.  What fun!  and here it is:

and here is what I created:


Recipe:  I used Crisp Cantaloupe card stock, by Stampin' Up! for the card base.  I just love this soft peach-y color.  I used Lullaby DSP, by Stampin' Up!  Since the inspirational board has mint in it, I used the blue/green version of the polka dots.  I used Daffodil Delight card stock, by Stampin' Up! for my matts.  I just love this sunny shade of yellow, without a tinge of green.  I used the pink/brown version of the looped circles, as my main panel.
For the long rectangle at the top of the sketch, I used this to hold my sentiment, which is this week's scripture from Word Art Wednesday.  I added two aqua mist vintage buttons, from Paper Trey Ink to either side of the scripture.  I also threaded some 1/4" gold ribbon, from Stampin' Up!, through the buttons.
For the large circle piece, I machine stitched three different ribbons to a Martha Stewart doily.  I used a crochet trim by Stampin' Up!, an Aqua Mist satin ribbon, by Paper Trey Ink, and a pink, gold, and sheer ribbon I had in my stash.  The lacey blossom for the center of my doily is actually a 'flower' from Prima Marketing, their Coffee collection (#578527).
To help give my card a 'home-made' feel, I added some simple machine stitching around each panel piece, and finally to the rectangle.  I think it helps make the card look 'finished'.  To help tie in the pearl button center on the lace blossom, I added a trio of white half faux pearls, and a pair of clear faceted sequins.
Thank you for stopping by {smile}.  It is always great to have company.  If you see anything that inspires you, please let me know.  Your comments do make me happy! and helps motivate me to keep crafting.  Sometimes, we all need is a little encouragement, to know that what we do, does make a difference. {smile}  Have a great Monday!  Oh, and as usual, this card will be in my Etsy shop.


Saturday, November 22, 2014

Pink Tree

~ second post for the day ~


Whew, I think I am on a roll!  I need to get a few more holiday crafts complete for another upcoming arts and craft fair.  So, I have visited a few of my favorite craft challenge blog sites and here is what I have been inspired by!
Festive Friday. has a wonderful nontraditional holiday inspirational photo:


Just look at this!  How great is that?  pinks, kraft, gold, silver, green, glass, warm wood, and a tree!
Now, I need a sketch, so I headed over to Mojo Monday.  Let's face it, I need a sketch, and this is one of my favorite go to places.  here is their sketch this week:

And for good measure, lets swing by a favorite shabby challenge site, and see what they have.  Sugar Creek Hollow.  They want a vintage/shabby Christmas card with a twist: non traditional colors.

Here is what I created:


Here is the recipe:  The card base is made from Kraft card stock by Paper Trey Ink.  The pink polka dot pattern paper is actually from a baby girl collection.  The text paper is 'twas the night before christmas' by Amuse Studio.  The blue and pink floral paper is from Maja Road spring collection I believe.  I matted the text and floral papers onto kraft card stock by Recollections.  
I wrapped a piece of cream satin ribbon by Paper Trey Ink around the floral paper.  I then added a piece of white silk ribbon by Paper Trey Ink.  I tied a multi-loop bow with the silk ribbon.  I tied a clear button to the center of the multi-loop bow with thin silver twine.  
I added three pinkish pebbles and three half faux pearls to the card front.
My focal piece is made with a glitter paper die cut snowflake and a 'painted' bottle brush tree.  I spritz a 'white' bottle brush tree with ink and then painted white arcrylic paint on the tips of the branches.
I stamped the sentiment and matted it with kraft paper.  I adhered and stapled the sentiment to the card front.
due to the bulk of the tree, I decorated a glassine bag to use as an envelope:


thank you for stopping by!  I hope you have been inspired to craft something beautiful and non traditional!  


Saturday, October 25, 2014

Holiday Gift Wrap

I know it's hard to even begin to think about the holidays.  But, if you are mailing your gifts, it's really never too early.  It can, however, be too late, though {frown}.
I have been adding some beautiful hand-made, hand-stamped items to my Etsy shop as often as I can.  So, if you can't find exactly what you are looking for, please send me a note, and let me see if I can make exactly what you are looking for!
Now, you have that perfect gift, let's get it wrapped!  I have two gift wrapping options for you in my Etsy shop.  I have a green version and red version.  I can either wrap your item from my Etsy shop (HERE), or send you the wrap.  Please make that note in my shop 'notes section' before making your purchase.
here is the red version:


here is the green version:


The gift wrap 'kit' comes with two sheets of white tissue paper (18" x 20") and 2 yards of satin ribbon.  The ribbon is single sided, so if you want a matt look, wrap with the other side of the ribbon up.  Two hand-stamped, hand-made gift tags accompany this kit, in a decorated small glassine bag.
Please be aware, that since this item is hand-stamped and uses pattern papers, there can be some slight variations.  Now that you have used the tags for your gifts, what to do with the decorated glassine bag?  Why not use it to hold a gift card? or other small trinket!
Well, I am off to make a few holiday banner pieces for sale at this year's holiday craft fairs.  Remember, come early for the best selection.  But, if you are looking for something specific, let me know.  I just might be able to make a custom order for YOU!


Saturday, November 16, 2013

. . . little things . . .

It's the little things, that matter most.


One of the hot selling items at my booth, at this years holiday arts and craft fairs, are these cute little altered notebooks.  I have added my own personal style and touch to these little cuties!  They have 80 pages of lined paper inside.  I have also added pattern papers to the inside covers (front and back).  The mini black gel pen that comes with it, writes wonderfully without smudging.  A super big plus to me!
I made another 8 this week, and they are available for sale at my booth:  Designs by Sharon
I am at the Tramway Community Church, in Albuquerque, New Mexico this weekend.  Friday 10a to 5p, and Saturday 9a to 4p.  Please stop by, I am sure you will be able to find a gift for just about everyone on your list!


Monday, June 10, 2013

Shabby Sweets


I'm not usually fond of Mondays.  It's basically bitter-sweet for me.  You see, I don't work weekends or Tuesdays.  So, Monday, is basically a lone work day.  But this Monday, is especially wonderful to me! No, I don't have the day off.  I am a guest Designer @ the Shabby Tea Room {smile}!  How fabulous is that?  I know!
Well, over this past year, a few design teams I was on, changed owners or shut down, which opened some of my free time.  And as a paper crafter, if you have extra 'free' time, that just means you make more stuff for family, friends, and yourself.  So, I have been doing more paper crafting, and it has given me 'time' to actually play along with some of the challenge sights that I use to just visit.  
I earned the guest designer spot this week @ the Shabby Tea Room, from my win in their Challenge #164, found here.  That inspiration board had beautiful spring flowers and some canning jars.  I made my mom's Mother's Day card using their inspiration photo.   That card was alot of fun to create.  I was super excited when I found out that I won, and then I was even more excited to be asked to be a guest designer.  I have to admit, I mostly paper craft for myself.  I truly find joy in the whole process of creating.  But, when someone loves your stuff/work so much that they comment, purchase, and/or ask you to create something for them, well, it's pretty intoxicating.

Ok, enough of my blah, blah, blah.  Let's get to this weeks challenge, over @ the Shabby Tea Room! The super talented ladies, have come up with this great inspirational photo.  They ask that you use: blue, pink, white, and flowers.  

Sweet As Sugar

This has got to be the cutest cupcake ever!  (And yes, I bake, too!)  The colors are soft and sweet.  I just love the polka dot paper, the pink sanding sugar on the pillow of frosting, and that delicate pink rose. Yum!  I hope you get inspired! I sure did!


I didn't have any restrictions as to what products/companies I can use.  So, I basically used stuff from everyone.  This card, is basically a mish mosh of the collection of products I have. All the paper pieces (pattern and solid) came from scrap box.  (It's a box that originally held a case of printer paper reams.)
The card base is crumb cake cardstock from Stampin' Up!.  I love this stuff.  The paper is basically kraft.  But the weight and coloration is excellent.  I used whisper white card stock to matt the main panel on.  I really wanted to accentuate the white pattern in the main panel.  The main aqua blue panel is Be Amazing from Mind Mind's Eye.  I just adore the softness of the aqua -blue shade and the pattern is easy to coordinate.  The bold pink polka dot pattern paper, is from Lost & Found 2 Blush collection, is cut to 1 1/2" wide and flagged at the end with a square punch.  
For the middle panel, I used pink pirouette cardstock, from Stampin' Up! as my base for this.  I matted a piece of that beautiful floral print pattern paper from Lost & Found 2 Blush collection to it.  I just adore this floral paper.  It has pink roses on it, in various shades of pink, everything from light to dark pink.  The aqua leaves on the pattern paper is just gorgeous.  The white lace trim I added, has an unfinished side, so I machine stitched that, so it would be all gross, with jagged pieces poking through.  Then, I machine stitched a strip of Aqua Mist satin ribbon, from Paper Trey Ink, to the card front.  This aqua color goes so well with the aqua-blues in the card.  I created a bow through a rhinestone buckle and adhered that to the card front.  I really loved the sparkle from the sanding sugar in the inspirational photo, so I really wanted to add some sparkle to my card.  I tied a white Paper Trey Ink vintage button with some pool party bakers twine from Stampin' Up!, and added it to the other end of the satin ribbon.  I love how this little addition really balances the card.  To create the tiny tag on the button, I used a sentiment from the fancy flexible phrases stamp set and jewelry tag punch, both from Stampin' Up! 

For the collection of tickets/tags, I used two different digital downloads: vintage tickets and shabby tickets, found here.  I fussy cut them out and layered them on top of each other.  I used foam tape behind the cupcake ticket to lift it off the card front.
The paper blossoms were hand-made.  I used three colors of cardstock to create the progression of blossom's color: whisper white, pink pirouette and rose red, from Stampin' Up!  I used the vintage floret dies from Heartfelt Creations.  I used my foam pad and stylis to create depth to the petals.  The petals are held together with a pale aqua-blue brad.  Once assembled, I sponged blushing bride classic ink to the tips of the petals.  Then, all the petals received a brushing of picket fence distressing paint, from Ranger, and a dunk into my tub of dazzling diamond glitter, from Stampin' Up!.  I created the leaves with aqua mist card stock, from Paper Trey Ink, and sponged Juniper classic ink, from Close To My Heart, over the leaf tips.
And finally I added a lone half pearl from Melissa Frances to each of the corners.  I thought this little addition would help soften the whole look of the card, and help pull some of the whites forward.

Thank you so much for stopping by today.  I hope the design team has inspired you to play along this week over @ TSTR.  I know the ladies would love to see what you create with this week's fabulously yummy inspirational photo!


this card is for sale in my Etsy shop