Showing posts with label mini album. Show all posts

Thursday, August 21, 2014

even more pages . . .

Ok, the last few pages of my latest mini album.  
We left off, at the start of the last interactive page.  So, let's continue . . . 


The page with the large typewriter and faux pocket holding a tag and coin envelope, is pulled forward . . .  this page(s) are revealed.  Here is the perfect place to hide either very special photos or journalling.
The opposite page, is another place for journalling or posting a photo.  The paper has lines to make writing a breeze.  But also, the little tag in the corner, is only attached at the top, so it is another faux photo corner.  That means, you can tuck something flat under it.  Or simply keep it as decoration. 
Turn the page  . . .   


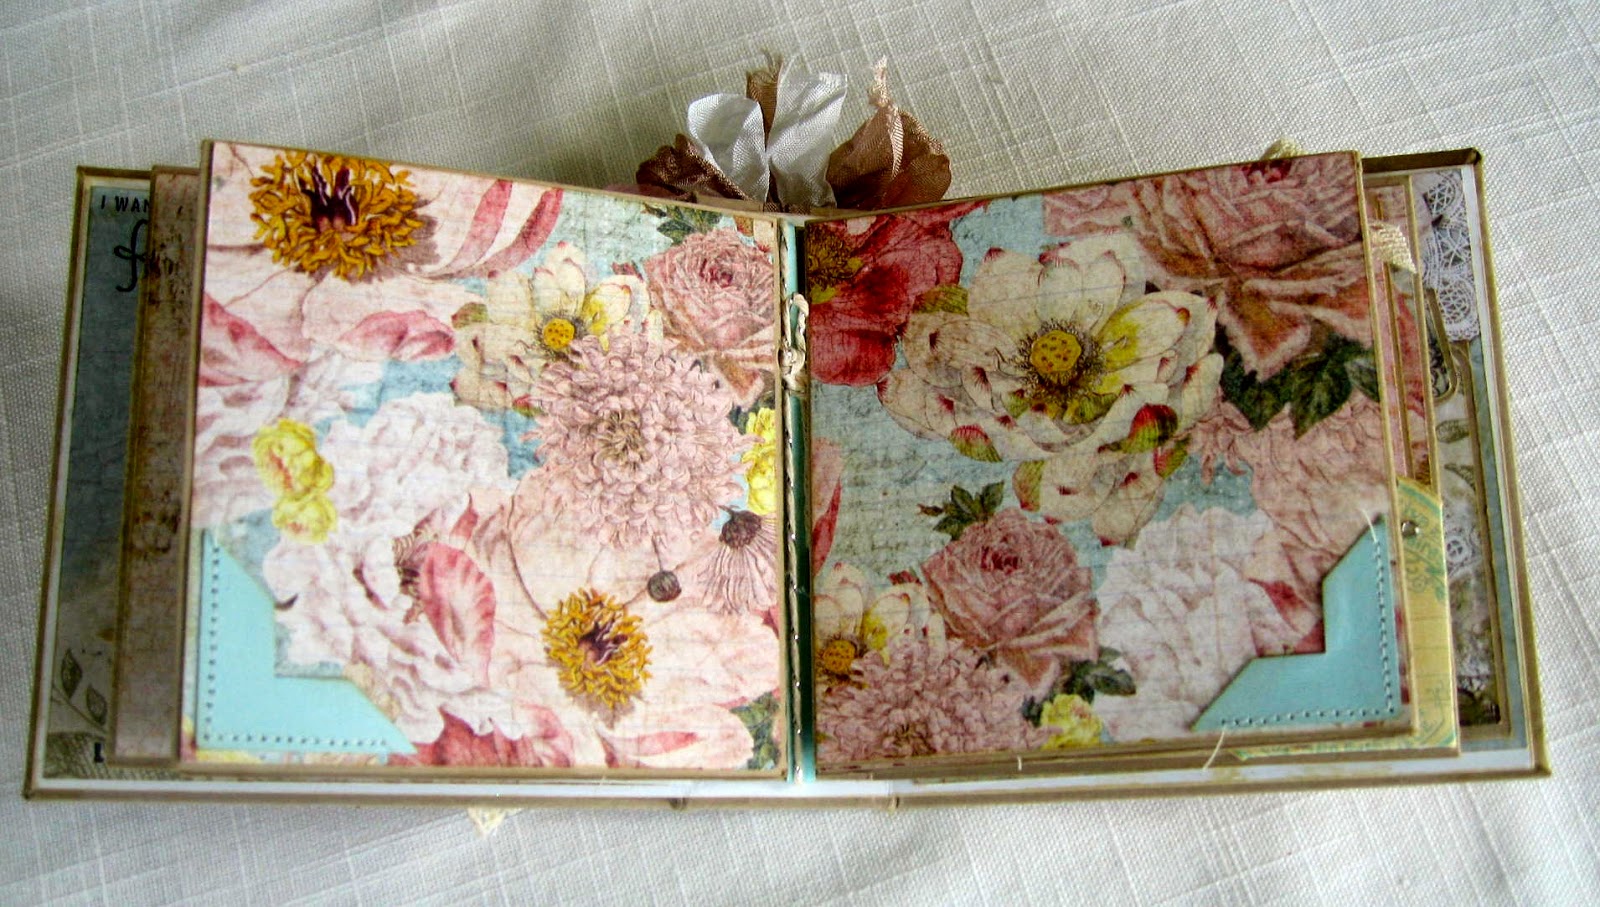
Ahh, this is our last page in this mini album.  But, there are more treasures!  The page with the alphabets on it, has another faux pocket at the bottom left corner.  And look!  more goodies!  


Another journalling tag and coin envelope tucked into the corner.  All the coin envelopes were fussy cut, the edges inked, and a small (ok, tiny) journalling tag is tucked inside {smile}.  I know, how super sweet is that?  But this page will surely hold another photo, or simply these/other little memorabilia.  
The inside of the back cover is just as precious.  I created a simple belly band to hold a little photo album.  {smile}  I added two sentiments that were fussy cut from the pattern paper:  Beautiful Memories, and a little date tag.  Simply slide this little photo jacket out of the belly band and open it to reveal a sweet place to hold two wallet size photos!


And we are done with the inside of this mini album.  So, lets see the outside!


and with the covers opened:


I used a mix of 12" x 12" and 6" x 6" pattern papers from the same collection.  I just love how the two flip pages look with a larger image pattern paper cut to fit.  Also, the middle folio page is stunning with large images.  But, actually, any size will work.
I used heavy weight solid card stock for main/grounding pieces.  I love Stampin' Up! and Paper Trey Ink card stock for those pieces.  If you need to purchase your solid card stock from Stampin' Up! I do have a shop 24-7 button on the side bar.  Please make your selection there {smile}.

Thank you for joining me, for this little 'tour' so to speak.  And I will have this mini album, along with the fairy mini album for sale in my Etsy shop soon.  Look for those and others during the long Labor Day weekend.  Take care, and happy crafting!


Thursday, August 14, 2014

Fairy Mini Album

~ photo heavy post ~

the embellishment collage on the cover
I am teaching a class at a private retreat next weekend.  The class I am teaching is a 'flip-flop mini album'.  The reason I call it a 'flip-flop', is that one page flips and another page flops {smile}.  Ok, one page opens up and one page opens down.  But lets admit, flip-flop is just fun to say {smile}.  I'll walk you through this mini album.  So, grab a cup of joe, a glass of lemonade, whatever quenches your thirst, and have a look!


Here is the cover.  I used a Fairy pattern paper by Prima for this mini album.  I cut this page of paper, to make sure the fairy would be honored with a collage of pretty trinkets.  I added a light bulb (ME), a butterfly bingo piece, a clay blossom, a pen nib, a lace bow, and this beautiful large blossom.  But take a closer look.  There are two silver glitter butterflies on the blossoms, and a collection of iridescent sequins.  {smile}  I did a little bit of stamping right on the pattern papers.  'LOVE THIS'


Here is the book opened.  The spine has a wooden embellishment piece, a black bauble, and a multi-loop bow of white, pink, and kraft seam binding.   


This is the inside cover has a decorative label piece with a date tag sticker.  I stamped onto the date sticker with a date spot.  I also stamped right onto the pattern paper is two sentiments about Remembering and loving these moments.  
The mini album pages have a little interaction.  So, lets start with the first page.  There is a faux pocket holds a photo matt for a wallet size photo.  But open this page, and . . .


expose a decorated glassine envelope and pocket.  Tags are housed in the pocket and envelope. 


Turn the page, and see another faux pocket.  This faux pocket holds a journalling block.  You can add a photo behind the journalling block.
Now, this next page is very exciting!  There is a tag with a paper blossom,  but open this flap, and there is a place to tuck a photo, in the 'take note' corner pocket.  But wait!


 Lift the page, and expose another place to hold a photo (or two) and another beautiful fairy.


Turn the page, and gaze upon the field of beautiful bright blossoms.  I have added photo corners at opposite corners to hold photos.  But, wait.  Open these bright blossom flaps, and expose . . . 


a panoramic view of bright blossoms, or a great collection of your favorite photos!  I have added photo corners to opposite corners, to allow you to display several of your favorite photos!


Turn the page, and expose another interactive flap.  The round label provides you with a place to pull the flap open to expose a journalling side bar, and a place to hold another photo.  And the opposite page has a corner pocket holding a tag.  This corner pocket will hold both a photo and the journalling tag.


If you open the flap on the left side and pull the page down, it showcases another beautiful fairy and a great place to hide photos and/or journalling.


Turn the last page, and here is one more beautiful spot to hold a photo.  And last, the inside of the back cover.  


Open the flap to provide you with a small journalling side bar and a beautiful spot to hold a photo.  The back cover doesn't stop the interactive pieces!  Here is a swing flap.  Move the tag, and the flap folds down to give you one more place to put wallet size photo(s) and/or a hidden journalling spot.


And here is the back cover.  I cut this pattern paper to show the butterfly.  I also wanted a lot of the text on the pattern paper.  I think it adds some visual interest without having to add anything.  I did stamp my 'brand' on the bottom in a light brown.  I didn't want the branding to be too obvious. 
Thank you so much for looking!  I will have this mini album on sale at my craft booth at this year's holiday arts and craft fairs!