
Wow. I didn't realize that it has been a whole week since I posted. Ugh. That's awful of me. Sorry folks. I wish I could say that I was super busy creating all these fabulous things in my craft room. And well, that just isn't the case. I have been busy with life: work, house work, laundry, taking care of my husbands dog, yada yada yada. Busy, like the rest of the world.
Anyways. I did finish another desk top calendar. This one is totally NOT my style. It has bright, bold colors, with a minimalist take on the embellishing. Perfect for a specific girl friend.
 |
| January, February, March, April, May, and June |
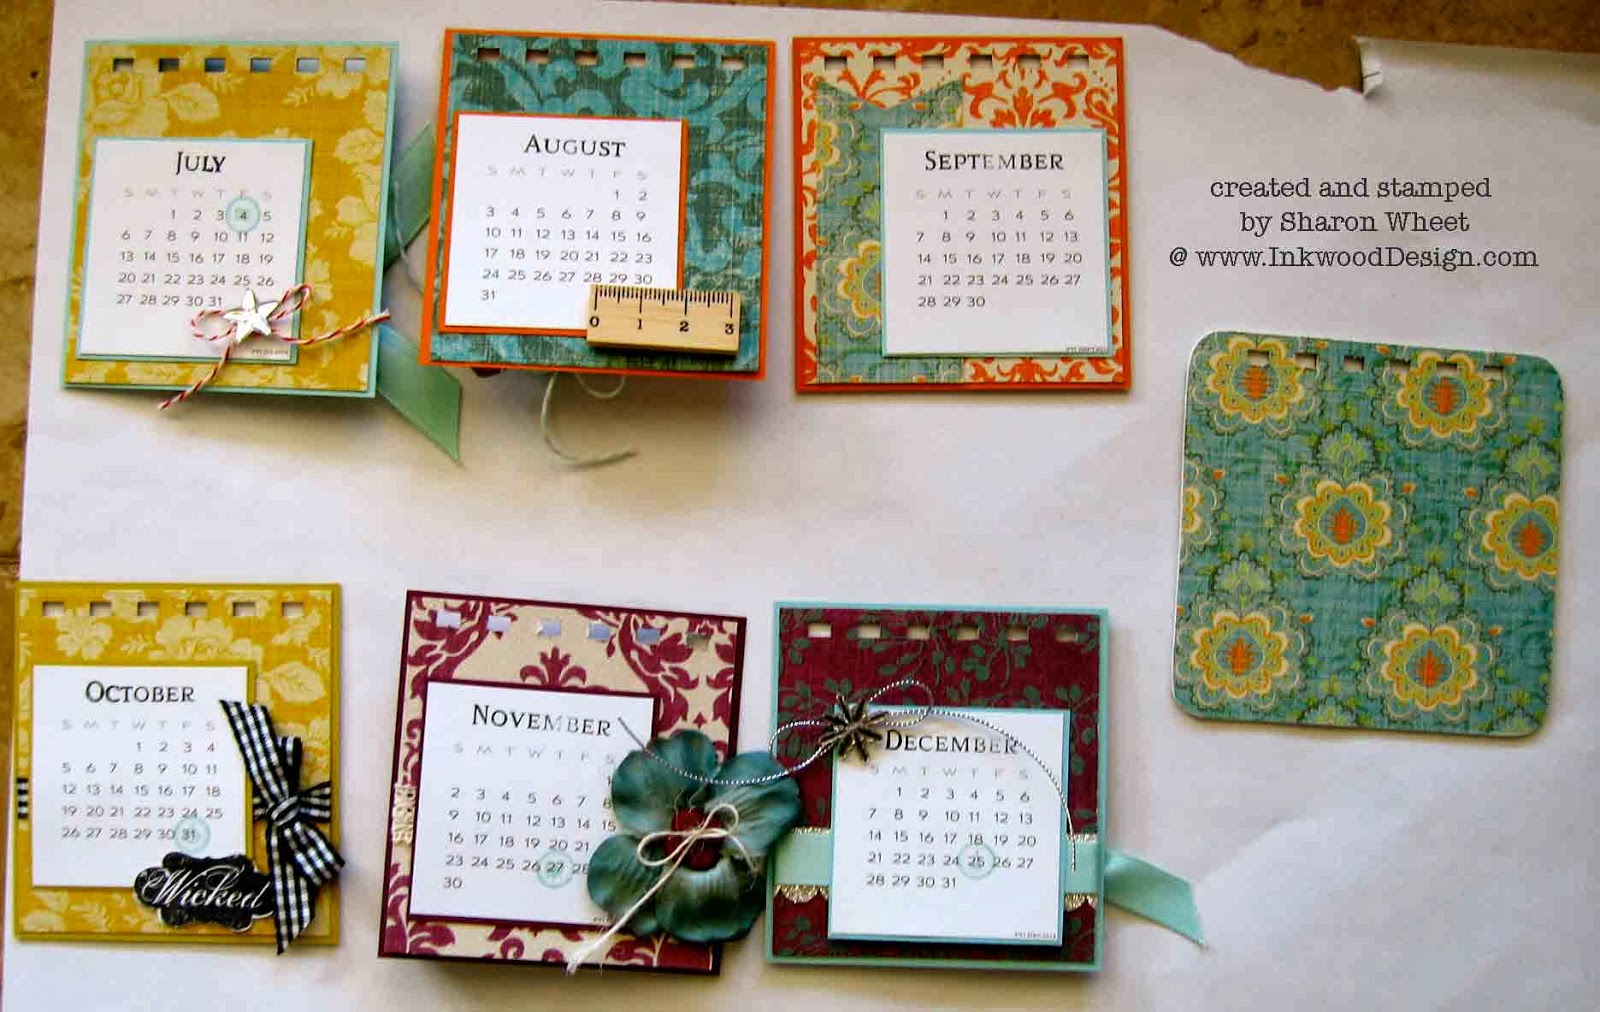 |
| July, August, September, October, November, and December |
The girl friend I created this calendar for, loves, and I mean loves bright, bold colors. So, that is why I chose to work with these papers. I'm also keeping on track with my new years resolution to 'use what I have'. The paper line is from Teresa Collins, Fabrications. I was a bit surprised by that. Because I generally think of her stuff in more of a girl-y, glamorous, soft color type of product. Surprise! I used pattern paper from her collection, but the card stock and embellishments are a mish mosh of what I have in my craft room. Solid card stocks are from Stampin' Up!: crushed curry, rich razzleberry, pool party, and pumpkin pie. The ribbons are from Paper Trey Ink: black gingham, aqua mist solid satin, and aqua mist polka dot. All buttons are from Paper Trey Ink. The bakers twine is retired Stampin' Up! in pool party and the Twinery in red. The thin silver cord and 'glass' snowflake are from a big box craft store. The mini ruler, and butterfly pin are from Maya Road. The 'glass' star is from Tim Holtz collection. The blue rolled flower is from Refections. And the large blue blossom on Feb. is from a floral pick. That should cover all the supplies.

This is another 'half' calendar. In this orientation, you will have the first half of the year. The second have of the year is on the other side. That way, you get to see both 'covers'. {smile}
I used my Bind-It-All, to put this together. However, I am still new at this, and I am not totally happy with how the binding came out. I followed the instructions, but I still don't like how it 'finished'. Maybe I used too large of O-wire. Of something. If anyone has little tips or tricks that they would like to share with me, please do!
Have a great week. I am working on publishing a few more tutorials. This one is on altering wood blocks and another is on altering an alarm clock. Look for both of those publications by Feb. My fingers are crossed. {smile}
No comments:
Post a Comment