On this 'hump' day, I find myself feeling a bit of relief. I'm really looking forward to the weekend. I have two craft fairs that I am participating in (Friday and Saturday) with two different locations. But, my work's Christmas Party is this weekend! How fun is that? I work with a great bunch of folks, and so celebrating the holidays will be a welcome change.
But enough of those ramblings. You came to see a card. And the wonderfully talented ladies over @ Stampin' Queens Sketch Challenge have an easy to use sketch for you to play with. Just remember to use your Stampin' Up! supplies. If you need a Stampin' Up! 'store', click HERE. (click on 'Products' and then 'shop now'.)
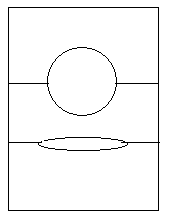
Here is this week's sketch:
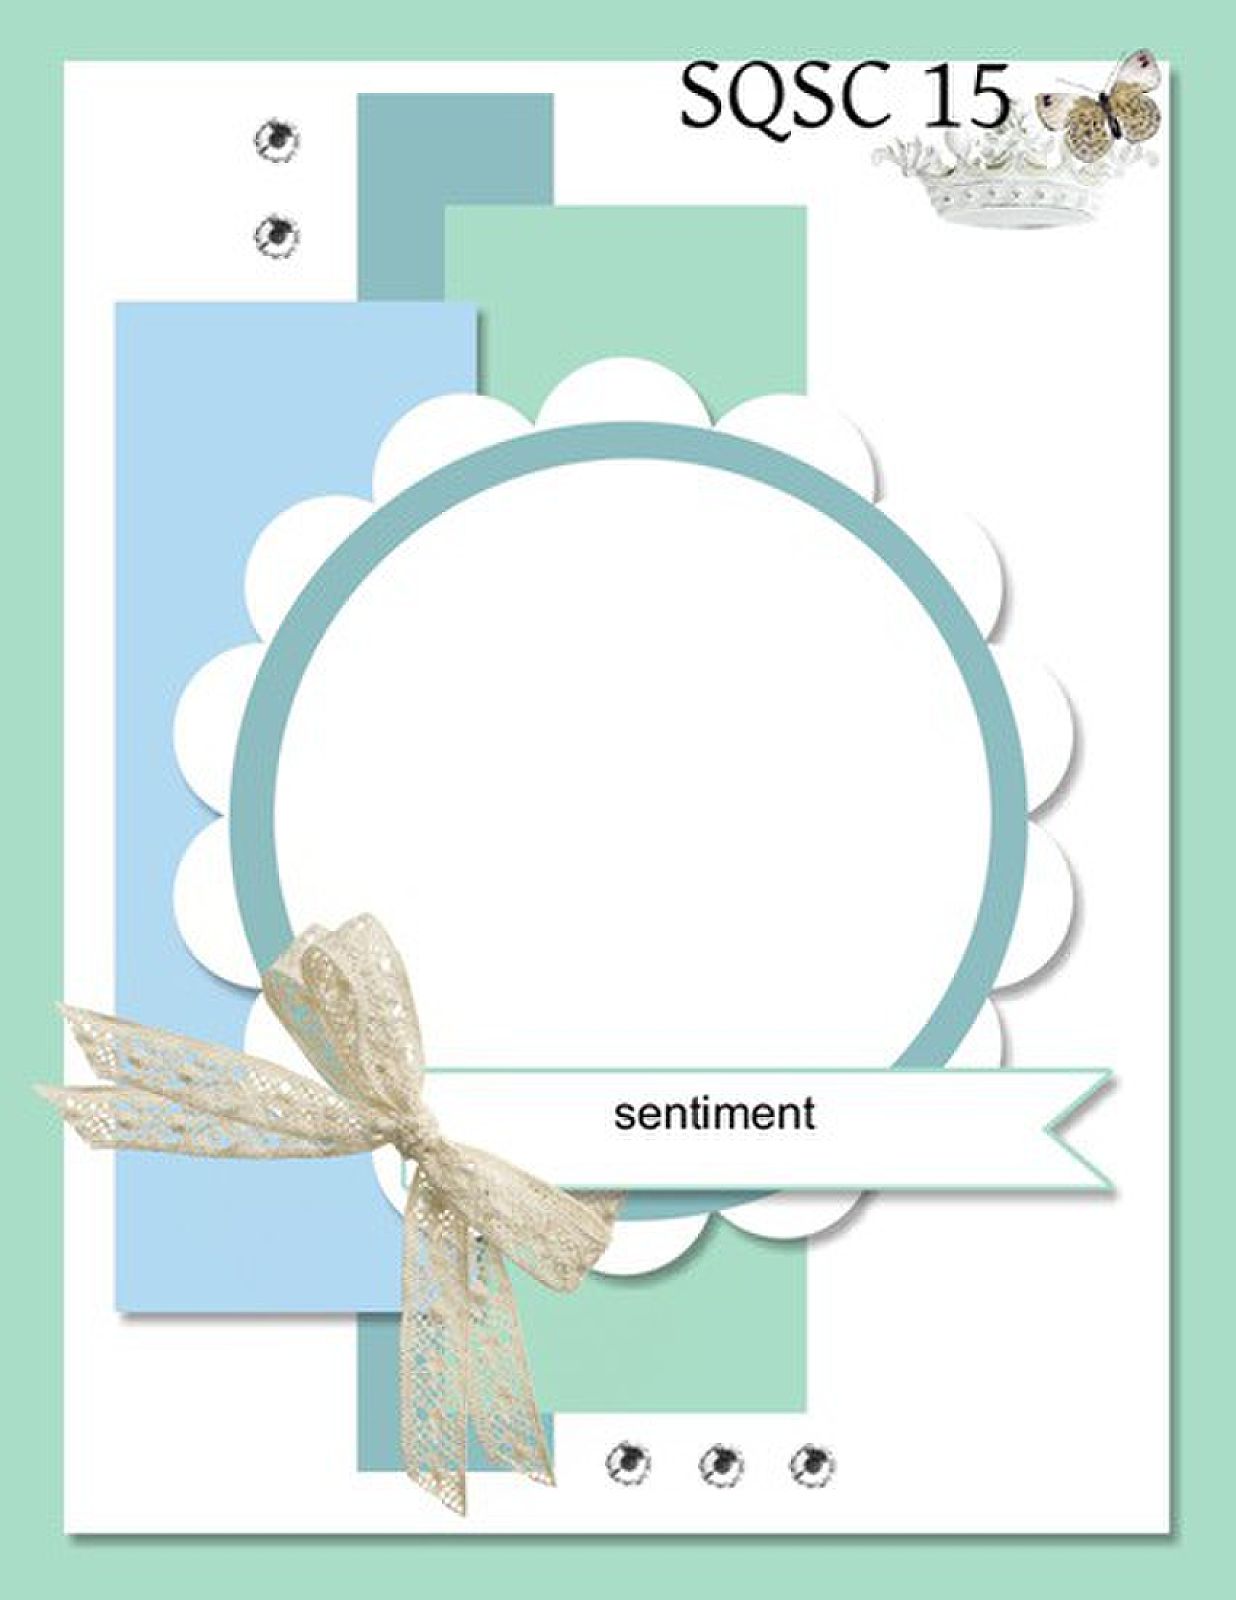
Looks pretty fun, huh? I'd love for you to give it a whirl. And, if you need some inspiration, the ladies on the design team, have some super ideas. Here is what I did:

First, let me apologize for being late on this post. After work yesterday, I had a few errands to run, and well I ran into an old friend, we got to talking, and when I finally got home (after 6p) my focus changed from the usual chores, to other things, and well, I completely lost track of time.
Back to my card. I used some favorites. The card base is Baja Breeze. I matted the First Edition DSP onto some Soft Suede card stock. I added strips from two different pattern paper packs: Beau Chateau and Springtime Vintage. I used two different stamp sets: Timesless Treasures and Clearly for You. For my little bow, I used a scrap piece of the crochet trim and attached it to the card with a vintage trinket. I used a die to cut the scallop circle, and a hand-held punch to cut the very vanilla circle. The soft suede and baja breeze circles were hand cut. I used the cone die to cut the banner. I just trimmed down the very vanilla piece, so the baja breeze piece would matt it. That's pretty much it. I would suggest that you first have some sort of idea as to the occasion of card that you would like to make. Then, select a stamp set that will work with your circle shape. And then coordinate papers/ribbons to take place of the strips. Let your focus of the cards main image dictate the direction your paper crafting goes in.
Thank you for your continued encouragement, and patience. If you have a moment this week, please play along with us. Take some time out of your busy schedule to sit and paper craft.
hugs, sharon