Friday, December 2, 2011

Antique

My craft fair season is winding down.  I have two craft fairs left.  One tomorrow and one on Saturday.  Whew.  This has been a busy time.  But, I hope you have carved out some paper crafting time for yourself!  And, if you need a little inspiration or a challenge to play along with, check out Sketch Frenzy Friday.  Not only do you get to use all those fabulous Stampin' Up! supplies, but you also get to exercise your creativity.
Here is the sketch:


Here is what I made:


So, I'm sure that it is not a surprise that I used Timeless Treasures, and Elegance Established stamp sets.  I wanted the card to look 'old', like you stumbled upon it in the attic.  So, I sprayed some Log Cabin smooch on the one corner.  I also wanted some twinkle, so I added a short strip of rhinestones.  The seam binding has been crinkled to continue the 'look'.
Continue this blog hop, and stop by Tammy B.'s blog to see what she has created!  So, break out your Stampin' Up! supplies and create a paper craft item! and share with us! we'd love to see what you do!

Wednesday, November 30, 2011

Feathered Friend

On this 'hump' day, I find myself feeling a bit of relief.  I'm really looking forward to the weekend.  I have two craft fairs that I am participating in (Friday and Saturday) with two different locations.  But, my work's Christmas Party is this weekend!  How fun is that?  I work with a great bunch of folks, and so celebrating the holidays will be a welcome change.
But enough of those ramblings.  You came to see a card.  And the wonderfully talented ladies over @ Stampin' Queens Sketch Challenge have an easy to use sketch for you to play with.  Just remember to use your Stampin' Up! supplies.  If you need a Stampin' Up! 'store', click HERE. (click on 'Products' and then 'shop now'.)
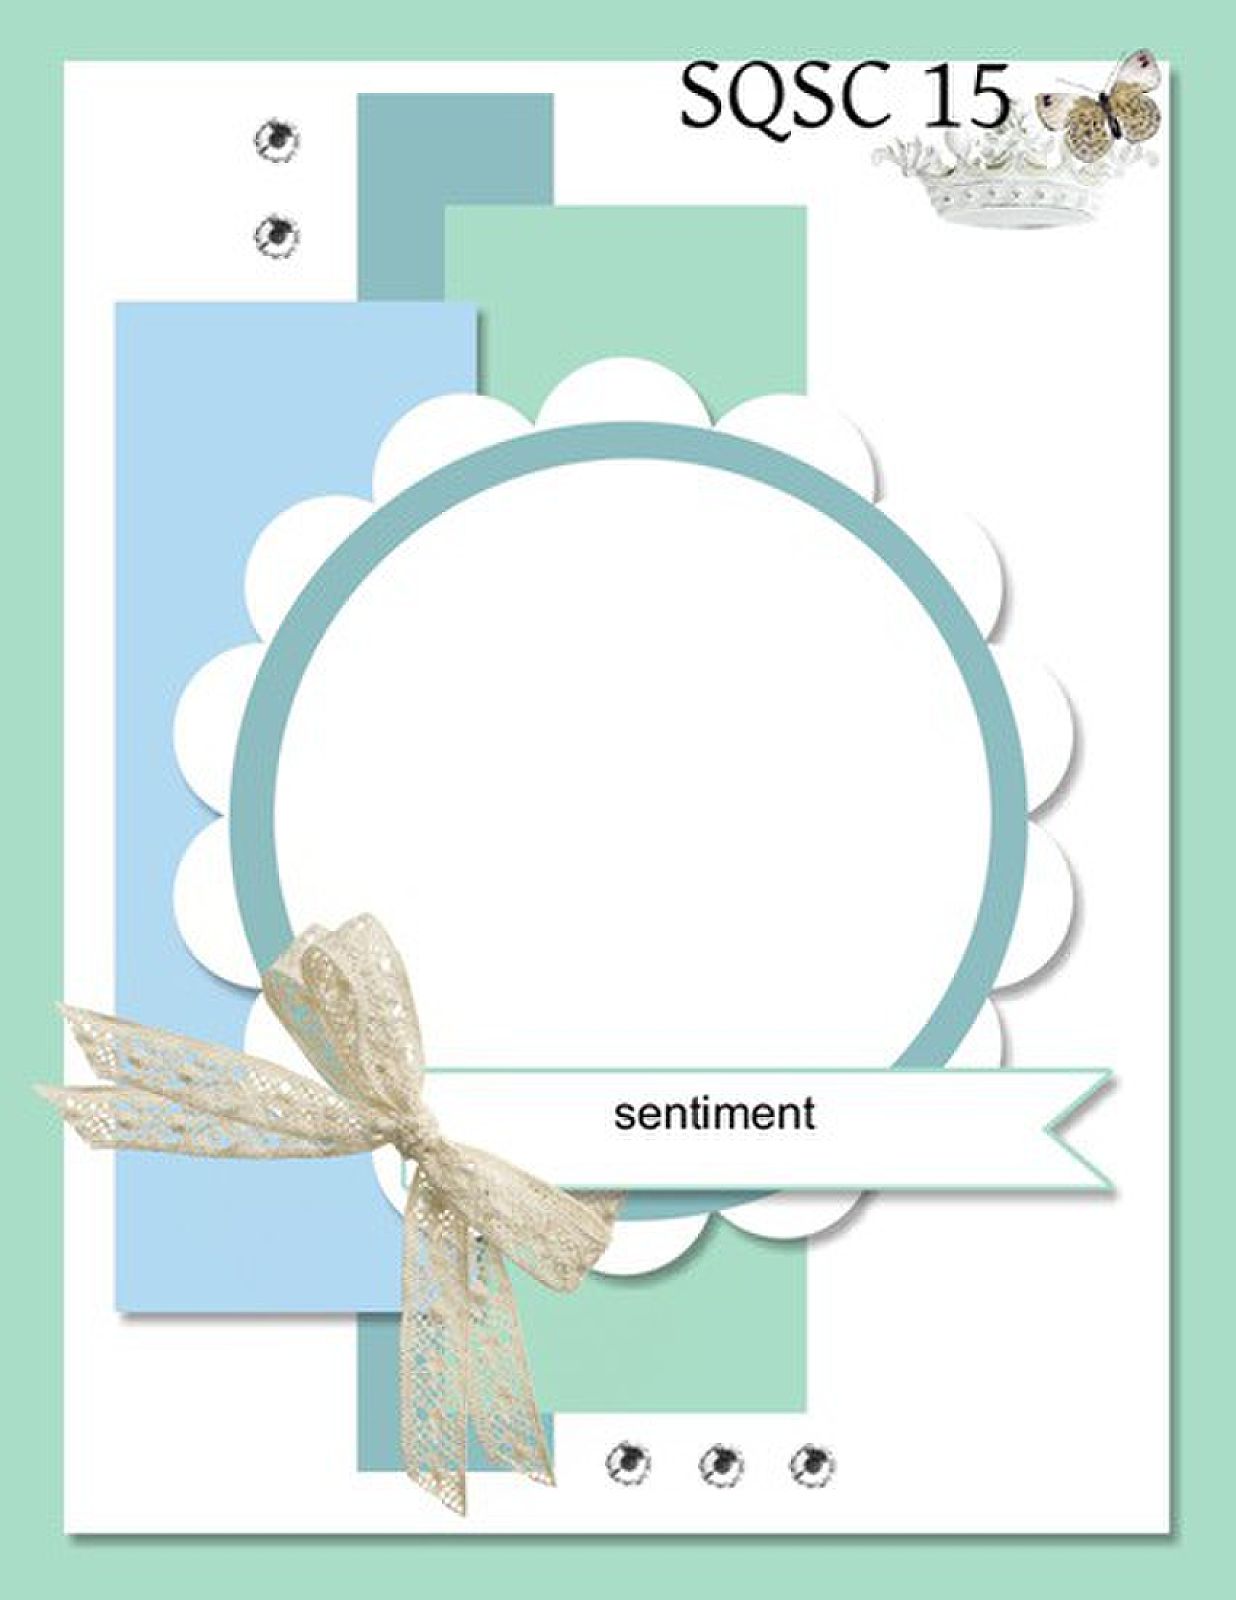
Here is this week's sketch:

Looks pretty fun, huh?  I'd love for you to give it a whirl.  And, if you need some inspiration, the ladies on the design team, have some super ideas.  Here is what I did:

First, let me apologize for being late on this post.  After work yesterday, I had a few errands to run, and well I ran into an old friend, we got to talking, and when I finally got home (after 6p) my focus changed from the usual chores, to other things, and well, I completely lost track of time.  
Back to my card.  I used some favorites.  The card base is Baja Breeze.  I matted the First Edition DSP onto some Soft Suede card stock.  I added strips from two different pattern paper packs: Beau Chateau and Springtime Vintage.  I used two different stamp sets: Timesless Treasures and Clearly for You.  For my little bow, I used a scrap piece of the crochet trim and attached it to the card with a vintage trinket.  I used a die to cut the scallop circle, and a hand-held punch to cut the very vanilla circle.  The soft suede and baja breeze circles were hand cut.  I used the cone die to cut the banner.  I just trimmed down the very vanilla piece, so the baja breeze piece would matt it.  That's pretty much it.  I would suggest that you first have some sort of idea as to the occasion of card that you would like to make.  Then, select a stamp set that will work with your circle shape.  And then coordinate papers/ribbons to take place of the strips.  Let your focus of the cards main image dictate the direction your paper crafting goes in.
Thank you for your continued encouragement, and patience.  If you have a moment this week, please play along with us.  Take some time out of your busy schedule to sit and paper craft.  
hugs, sharon

Tuesday, November 29, 2011

Typed Christmas

'Tis the season.  I'm making another Christmas card.  This one is an invitation for all my Stampin' Up! Hostess's this year (2011).  For this card, I used all Stampin' Up! supplies.


I have an infinity for 'vintage' style.  So, when Established Elegance stamp set, came out, I had to get it! I paired it with this fabulous Christmas stamp set.  The pattern paper is Christmas Lane.  I've seen some holiday pattern paper with these fabulous red glitter swirls and just thought they were very beautiful and added just the right amount of sparkle and elegance.  So, I made my own.  I stamped the snow flake in Versa Mark.  Added heat and stick embossing powder, heat embossed, and then added the Real Red Glitter.  Viola!
Thanks for stopping by.  Hope you visit again, soon!  Hugs.

Sunday, November 27, 2011

A different Christmas

It's the last day of this long weekend for me.  I need to get a few things cleaned up, and a few loads of laundry done, to be prepared for the upcoming work week.  But, you are probably in the same boat as me, and so 'ahoy matey'.
I have distressed this christmas card, to give it that worn look, (a favorite of mine).  I also used the colors in the CR84FN color challenge: brown, green, and tan.  So, you see, these are NOT the traditional colors for christmas.  But, these are the colors I use to decorate our home for the holidays.  So, it only seems fitting to use these colors to create a christmas card.  

Here is the inspirational photo:

Here is my card:

*If you click on the photo, you will get an enlarged image, so you can see the detail.  But, I have provided you with a close up the the birds.  (I love birds)

For this card, I used a lot of Stampin' Up! products.  One of which is my new favorite 'tool' - distressing kit.  You get a blank red rubber stamp.  The theory behind the blank stamp is that it gives you a surface to apply ink randomly to your paper; pattern or not.  You also get four typical distress ink colors, to help get that wildly seen distress look.  (you get a sanding block and some files, to help rough edges and get a sure 'fit' on covered chipboard pieces.)
The ribbon and pattern paper are retired products of Stampin' Up!.  The card base is Crumb Cake card stock, with an Old Olive card stock, that was dry embossed with the vintage wallpaper EF.  The scallop trim is Soft Suede card stock.  I made a frequently seen rolled flower using the First edition DSP.  The buttons are a random collection from my stash.
Thank you for stopping by this busy holiday weekend.  I hope that you were surround by friends and family, and where able to give 'Thanks' to those who have earned/deserve it.

Saturday, November 26, 2011

St. Nick

Happy Saturday Morning!  Whew.  This has been a busy holiday weekend, and I'm glad that I had a chance to sit in my craft room and create.  But, when I tell you this was a labor of love, I mean it.  Wendy, from Our Creative Corner, has a wonderfully delightful challenge for you this week.  
Here is her inspirational photo:


Wendy, uses this long weekend, to decorate her house.  And she wants to see a Christmas tree of sorts used on your paper crafting project.  Sounds pretty simple, huh?  As one of my design teammates says, 'it's the simplest that can be the hardest'.  And boy is she ever right!  So, when I saw this photo, I knew exactly what I wanted to use.  A starting point of sorts.  My resin christmas tree.  How pretty, huh?  So, at first I altered a box, to create a Christmas box.  Oh my.  That did not come together as I had envisioned it would in my mind.  Ok, so, I tried to alter a hinged lid tin, you know, to hold christmas tags.  I couldn't get that to come together either!  Was I trying too hard?  Or simply limiting myself to this resin tree.  So, after going through two different Christmas themed lines of pattern paper, and countless hours.  I came up with this simple (not really) coaster hanger.  


I used one of those cardboard coasters that measures 4" x 4".  I used an 6" x 6" pattern paper pack.  Since the object is small in scale, I felt that the patterns on your typical 12" x 12" pattern paper would be too huge.  I wanted a pattern 'small'.   I did a little stamping, too!  I inked the 'Merry Christmas' stamp in pear pizzazz, old olive, and always artichoke classic inks.  I wanted the image to look old, worn.  So, I figured the variations in color would seem weathered.  I also used my blank stamp and old paper ink pad to give all the pattern papers a dirtied-look.  And front and (almost) center is that resin Christmas tree.  I'm a fan of texture and visual interest, so there are a few different things.  The buttons are hand-sewn on.  The text paper is both distressed and punched using a lace border.  I also stamped a holiday sentiment on it.    The fabric rolled flower helps 'join' that otherwise empty corner.  I die-cut the star out of textured white paper and distressed the edges.  I punched three different flower shapes out of the same 6" x 6" pattern paper pack, to keep the scale of pattern consistent.  I have it all together with a metal brad.  And then I topped the brad off with a faux half-pearl.   The 'Season's Greeting' tag was printed @ 70% scale.  I added a scrap piece of crochet trim to help soften the paper seam.  I used my crop-a-dile to punch the hanger holes.  I strung some pretty polka dot ribbon thru and knotted it at the back.  
This little pretty can either hang on a door or your tree.  Let's see what beautiful work of art you create with our challenge: use a Christmas tree on your project.  For some added inspiration, and to get those creative juices flowing, hop on over to the Our Creative Corner blog, and see what these super talented ladies have created!  You won't be disappointed!

Friday, November 25, 2011

friends

It's Friday! Black Friday! That means most of you are shopping, in hopes of getting that fabulous sale/deal, or special.  I wish all of you some economic savings.  As for me, there are a few stores I will be visiting on the web, and one store in person.  I know exactly what I want to purchase, and where, so the shopping isn't too much browsing, as it is buying.
But, if you get a chance to sit down at your crafting space, please consider playing along with us.  Jennifer, at Sketch Frenzy Friday has given us this easy to work with sketch.  
(This is a blog hop and each of us have added a hyperlink to the next persons blog.)


For those who know me, know that I am not big on ovals.  Not really sure as to why.  But, it isn't my favorite shape to work with.  So, I replaced the oval with a circle and a flower at the bottom edge.  Here is my card.


Shocking that this card isn't pink, huh?  I thought with the change of seasons, why not change my usual color scheme.  I used Baja Breeze, which is one of my all time favorite blues.  The pattern paper is the DSP, and the solid card stock was run through the big shot inside the vintage wallpaper embossing folder.  After I stamped the sentiment in Soft Suede classic ink, I did a second generation stamp in Baja Breeze classic ink.
Here is the hyperlink to Tammy B.'s blog.  Visit her and see what she has created!